facebook twitter pinterest instagram
  • Home
  • About
  • DIY
    • Diy home decor
    • diy events
      • Birthdays
      • baby bridal shower
      • weddings
    • Diy holidays
      • Christmas
      • Halloween
      • new years
      • Thanksgiving
      • Valentine Day
    • Diy Kids
  • Home Decor
    • before And after
    • Diy home decor
    • Decor tips
    • High-low
    • home tour
    • Trends
    • One room challenge
  • By Rooms
    • Bathroom
    • Dining room
    • outdoor
    • Kids room
    • kitchen
    • laundry
    • living room
    • Office
    • Bedroom
  • Life
    • Entertaining
    • Family
    • Fashion
    • recipe
    • travel
    • Gift Guide
    • Spotlight
  • Shop
    • weekly faves
    • Reviews
    • Free printable
  • Design Studio

Harlow & Thistle

Oh we're getting close now. I feel awful I haven't been able to post content lately (life just takes over sometimes). As our world is headed into more unpredictable times I'm thinking our holidays will again look a bit different. That being said,  I thought I'd share a fun different idea for your Christmas dinner table and share all the details of how to create a low boho Christmas table (also a great idea for a unique kids table). There's always something fun about sitting on pillows on the floor and eating a delicious meal at a low table, festive picnic style if you will (maybe it's the change in view and the casualness).

How to Create a Low Boho Christmas Table

How to create a low boho Christmas Table

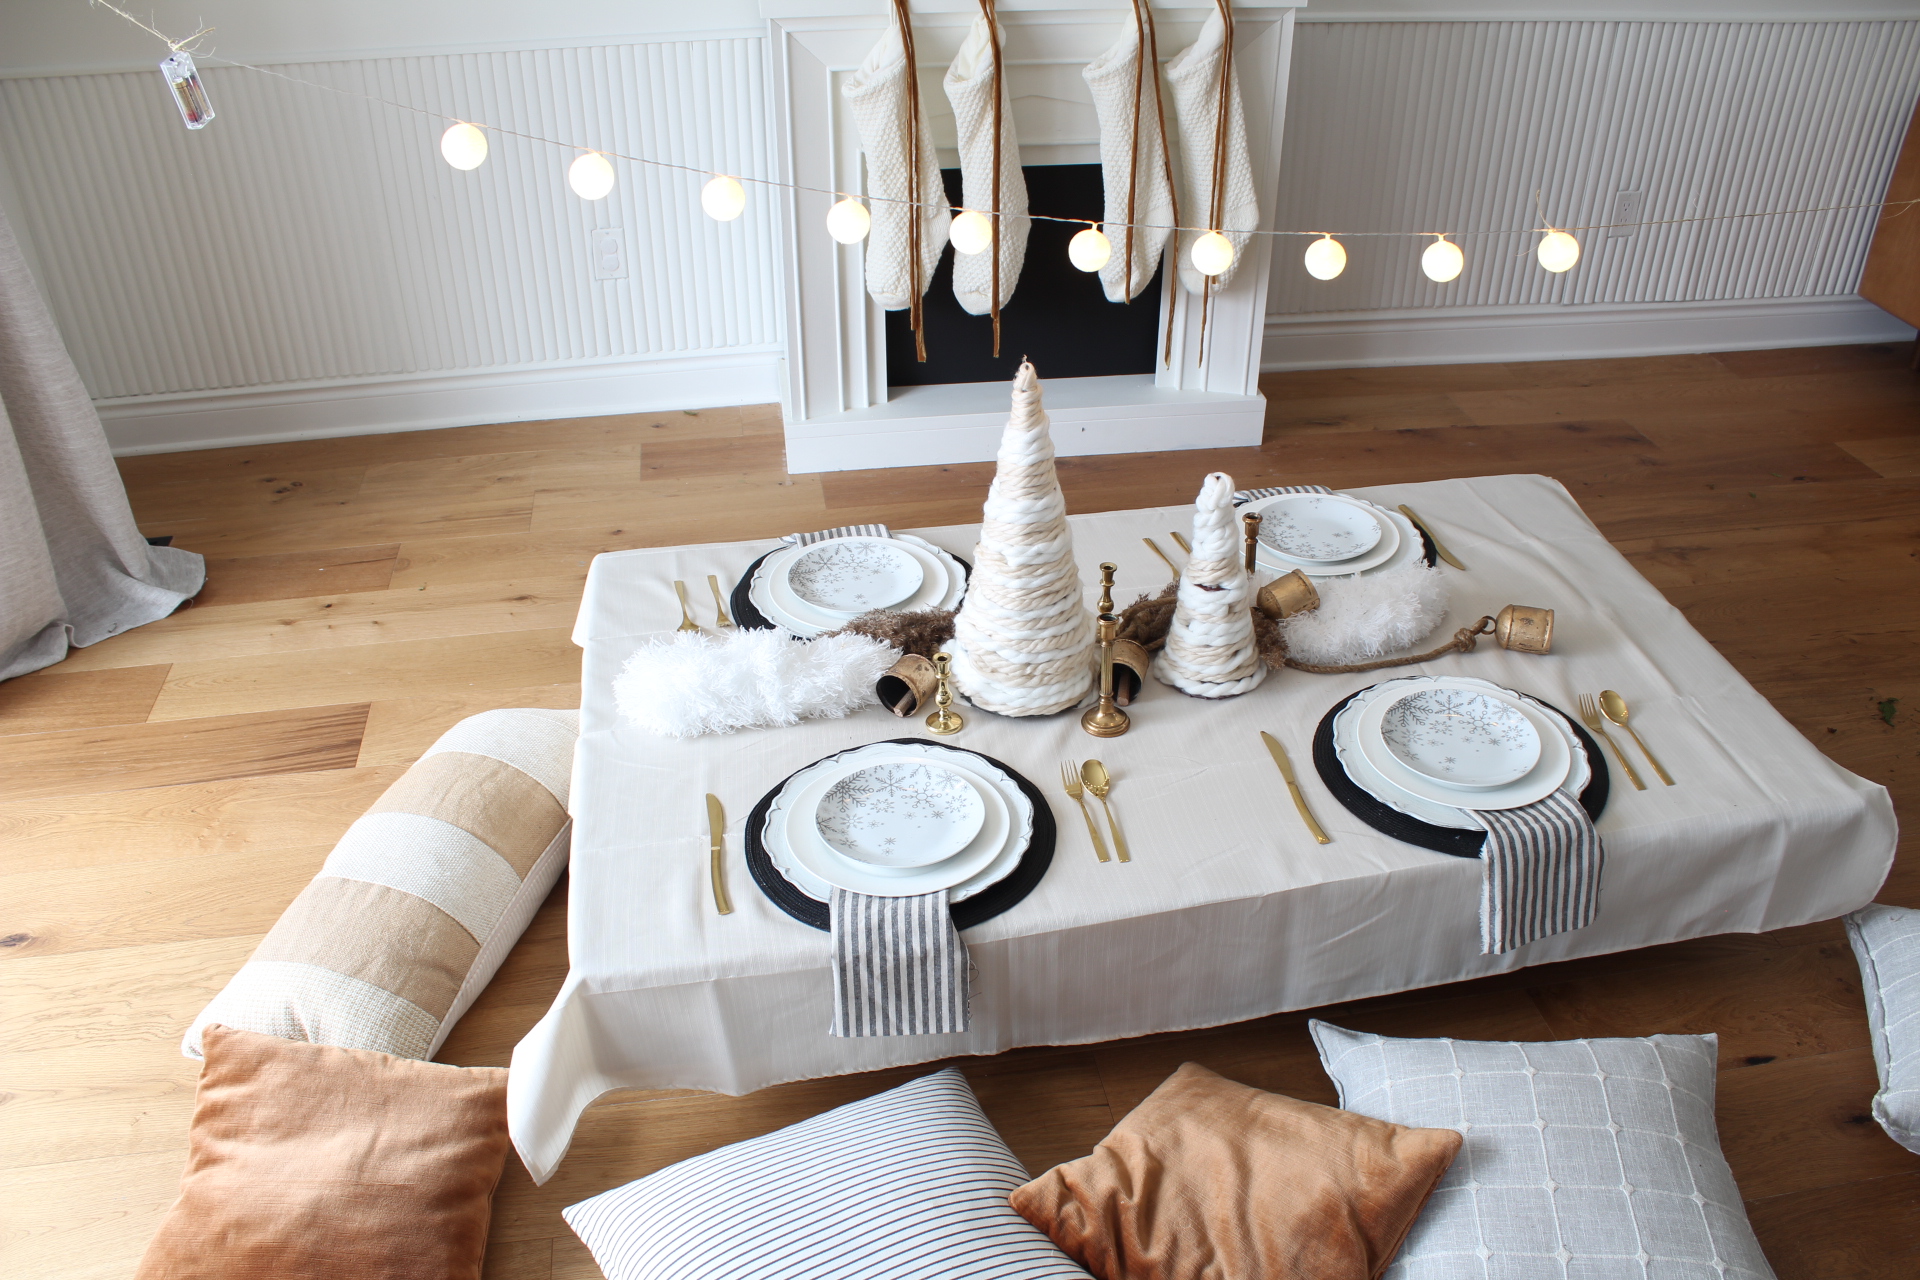
You'll never believe it but I created this entire boho Christmas table with stuff around the house, dollar store items and this fun DIY Chunky Yarn Christmas trees I made previously. I made the table from a TV box (might not be the best for a heavy turkey but worked okay for pizza with the kids). The items I picked up from the dollar store included; table clothes, napkins, lights, pillow cases and ribbon. My kids were big fans of the string lights.

23:52:00 No comments

 The holidays are upon us and I have to admit we've been a bit behind on the decorating this year but I always love sharing a few DIYs during the Christmas season. Today I'm sharing a quick DIY chunky yarn Christmas tree which is basically a dollar store hack. This easy and affordable project would make the perfect hostess gift.

DIY Chunky Yarn Christmas Trees - 01

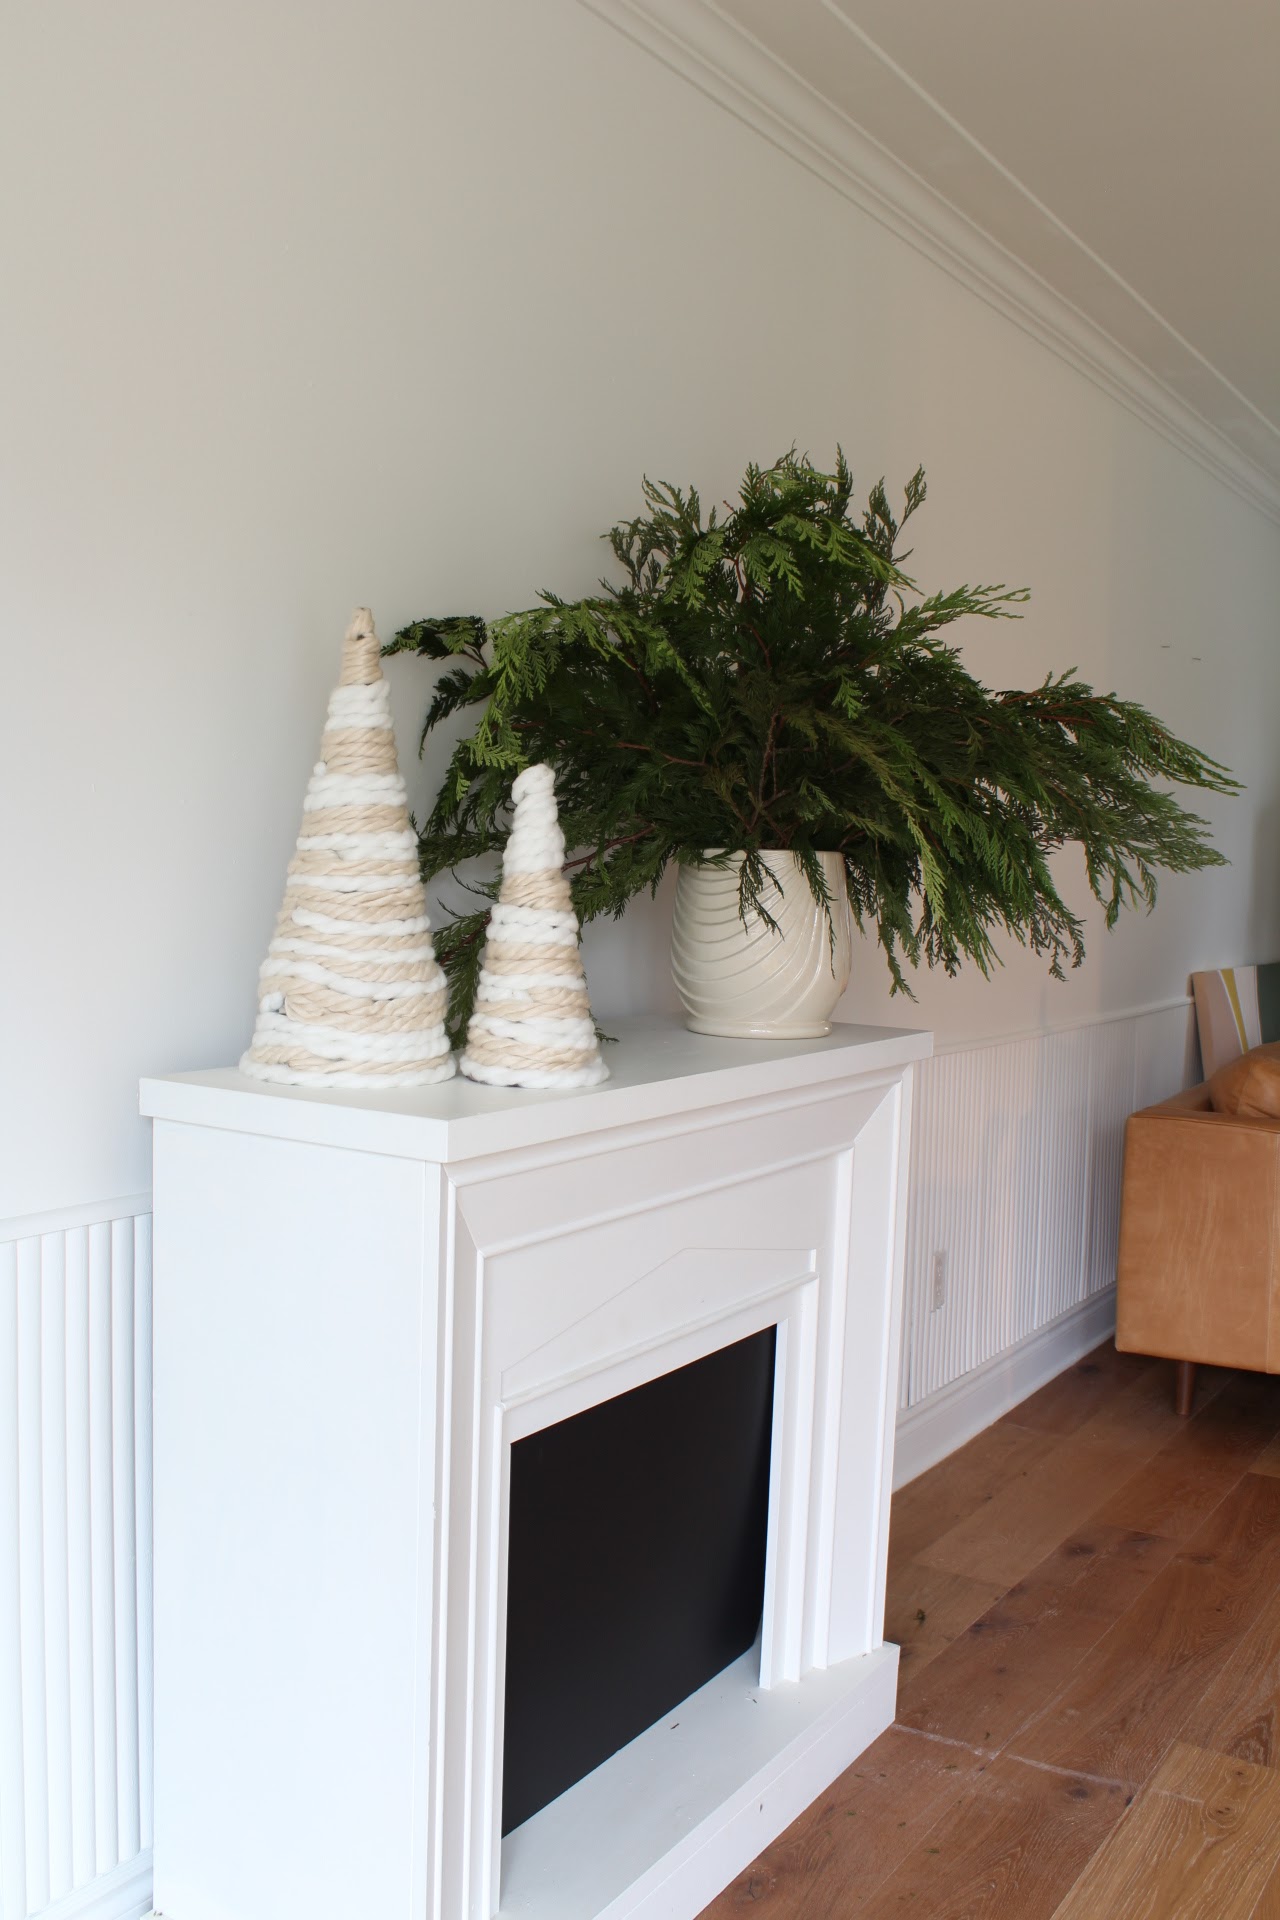
I picked up a few of the tinsel holiday trees from the dollar store and removed the red sparkly garland. To be honest I don't hate the sparkle I just don't love red for some reason.

DIY Chunky Yarn Christmas Trees-before

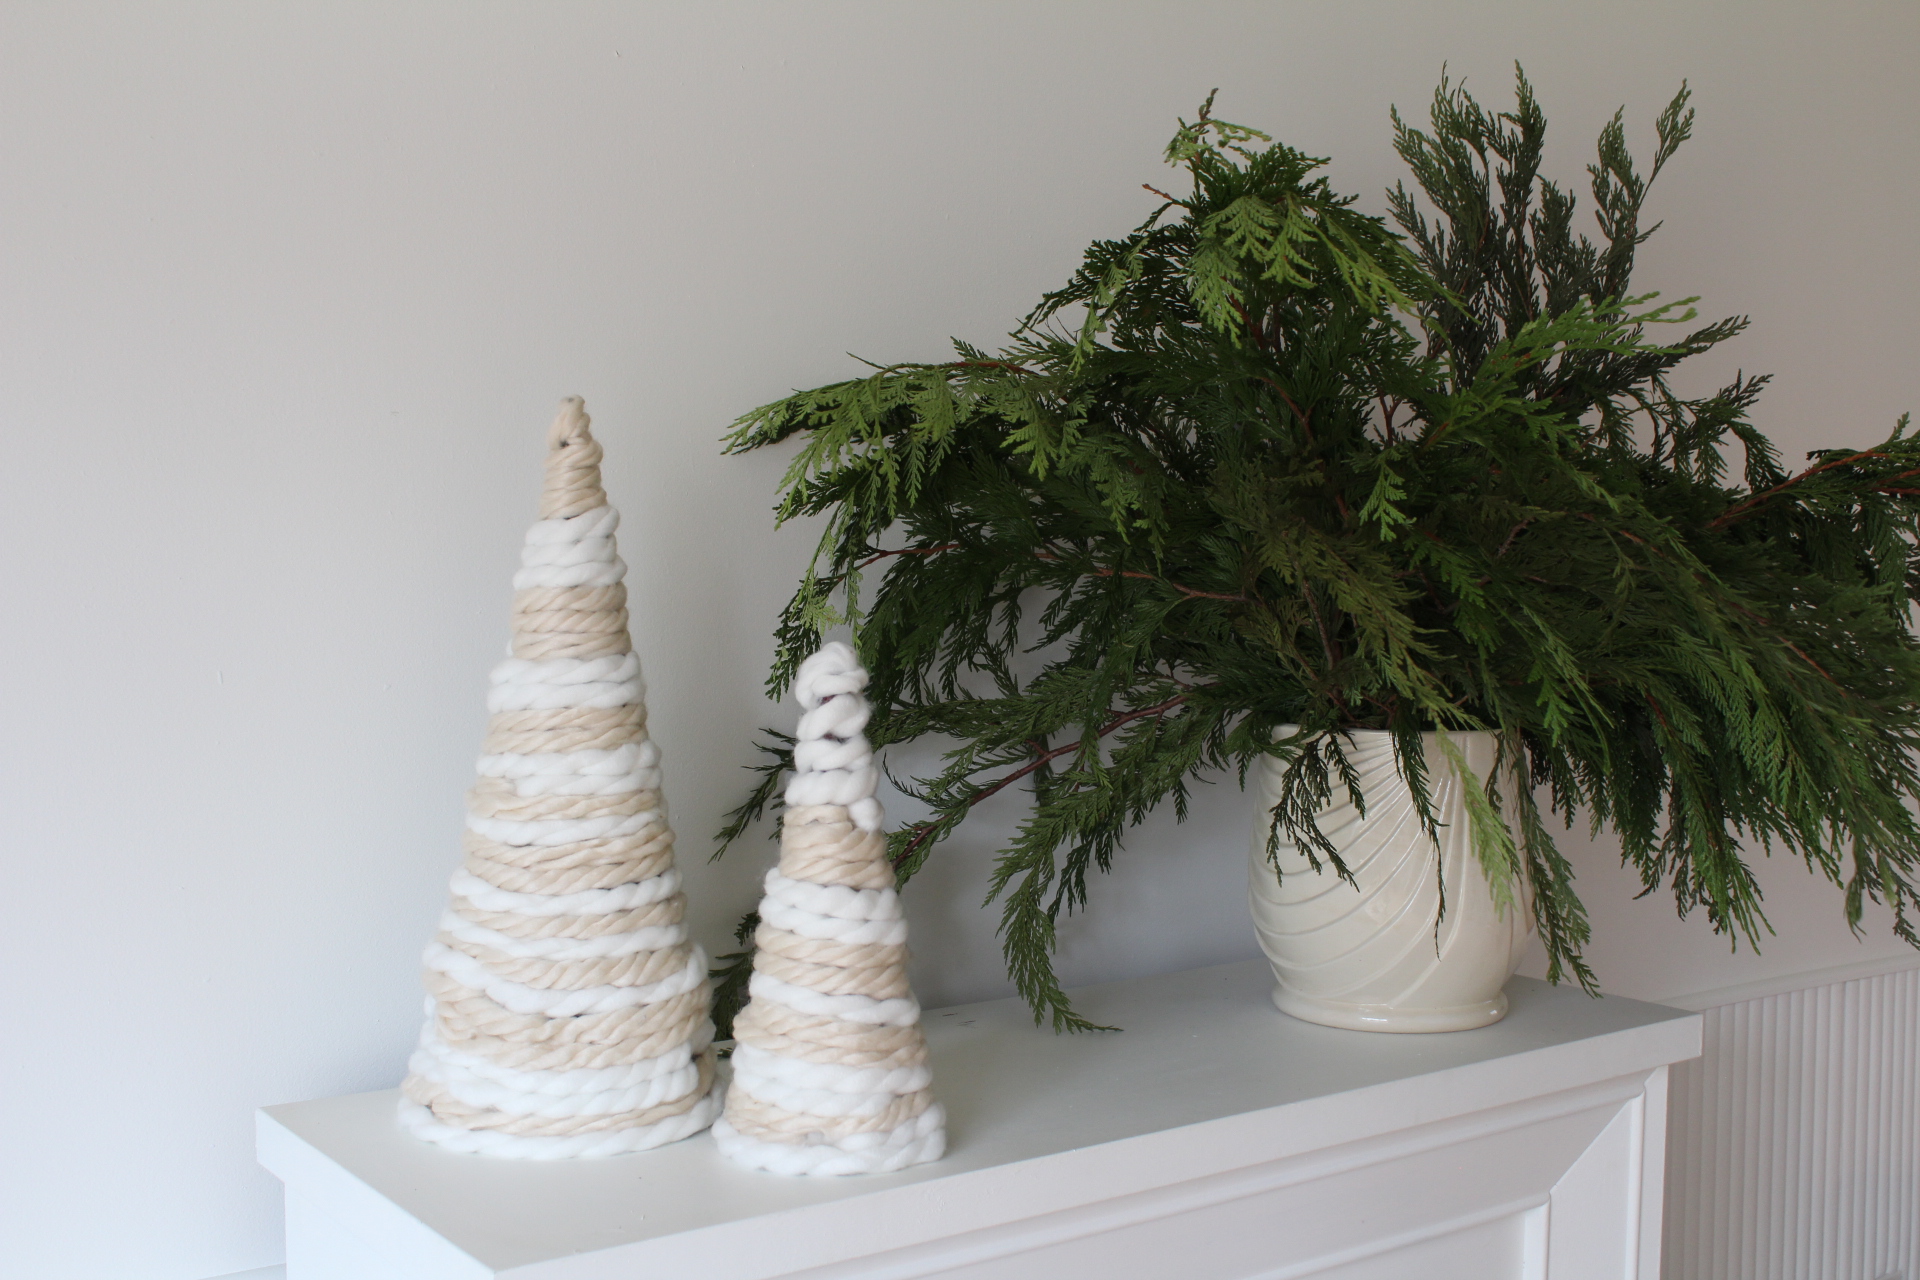
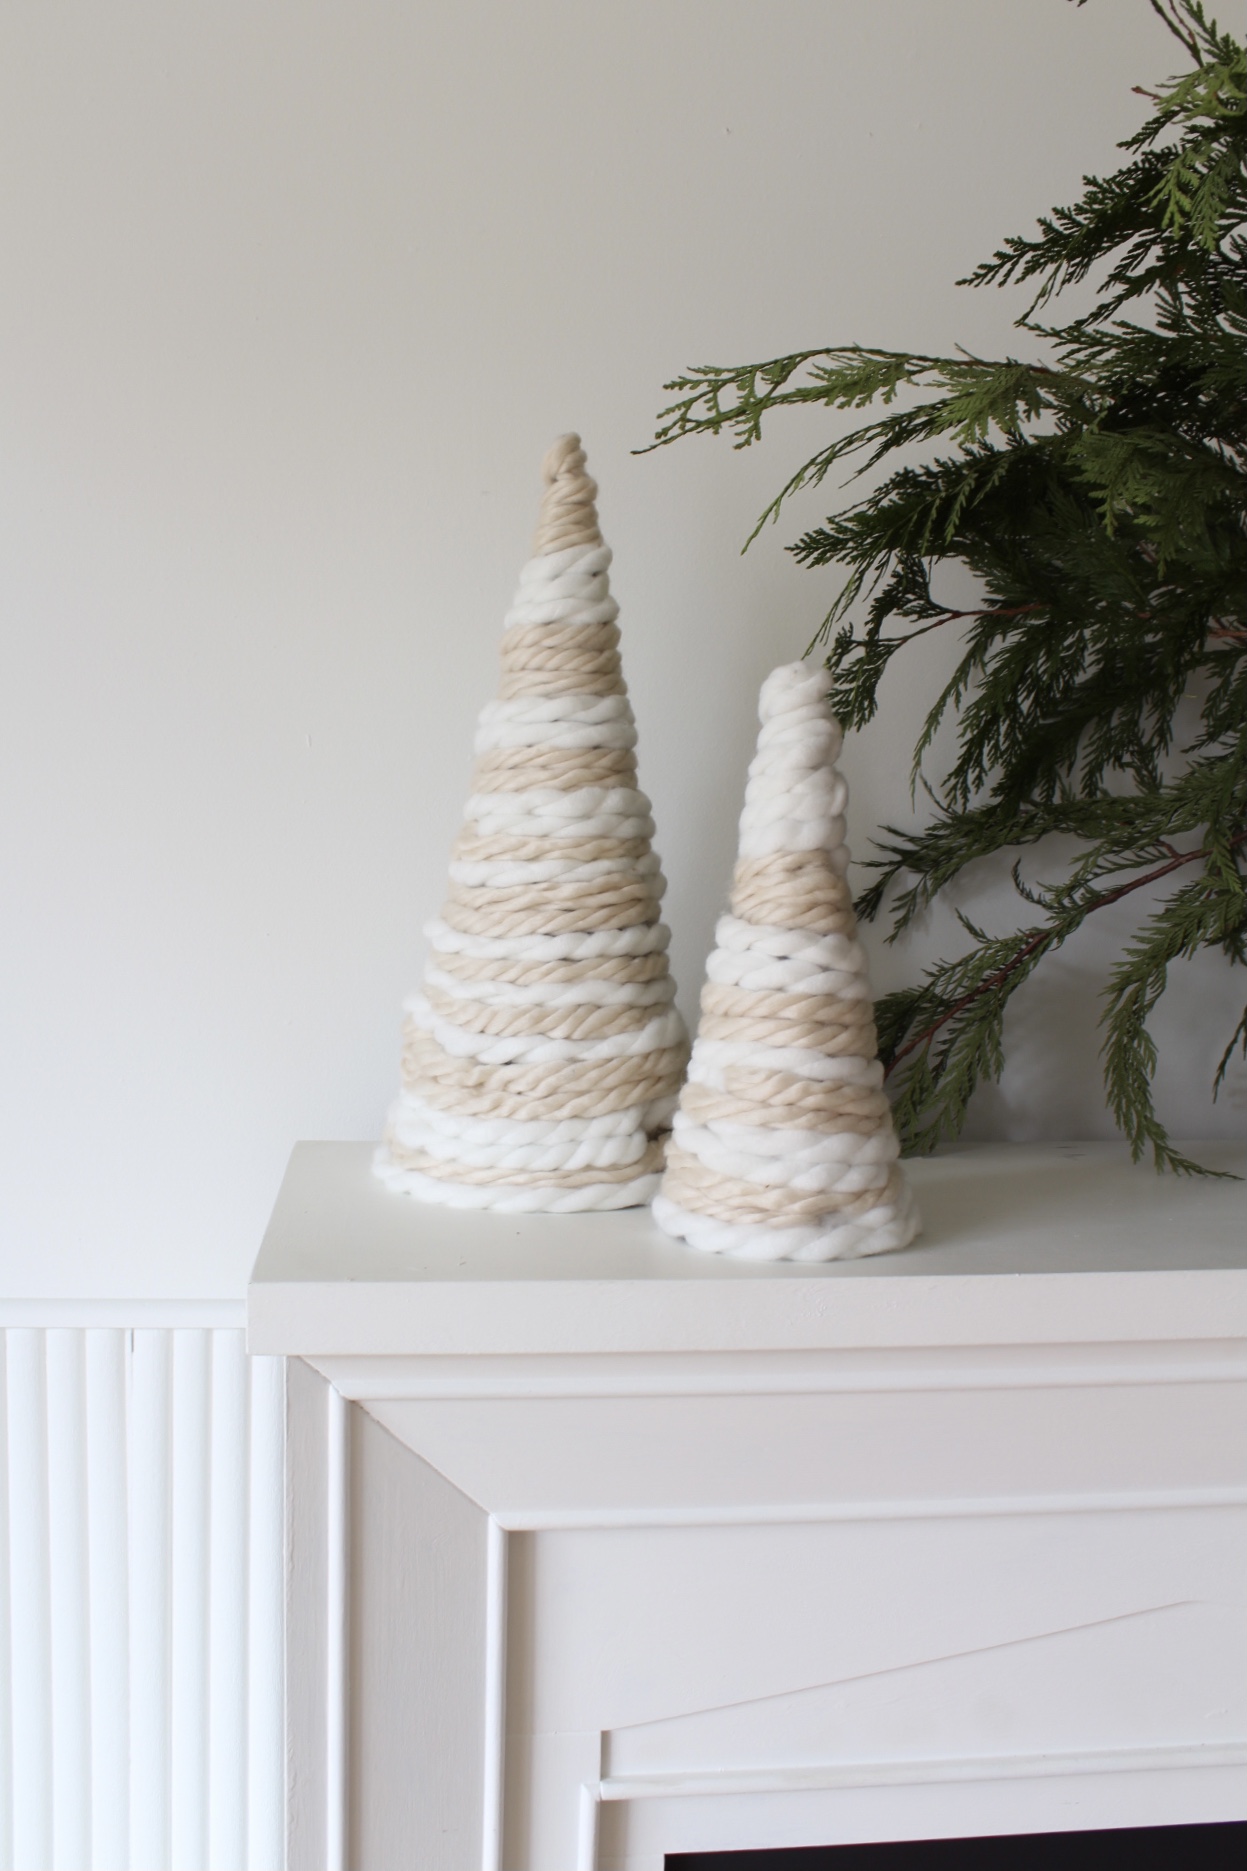
After I removed the tinsel I wrapped the plastic tree frame with some thick chunky yarn. The best part is  that it required no gluing or sewing. The tongues on the frame held the chunky wool in place perfectly.

DIY Chunky Yarn Christmas Trees-05

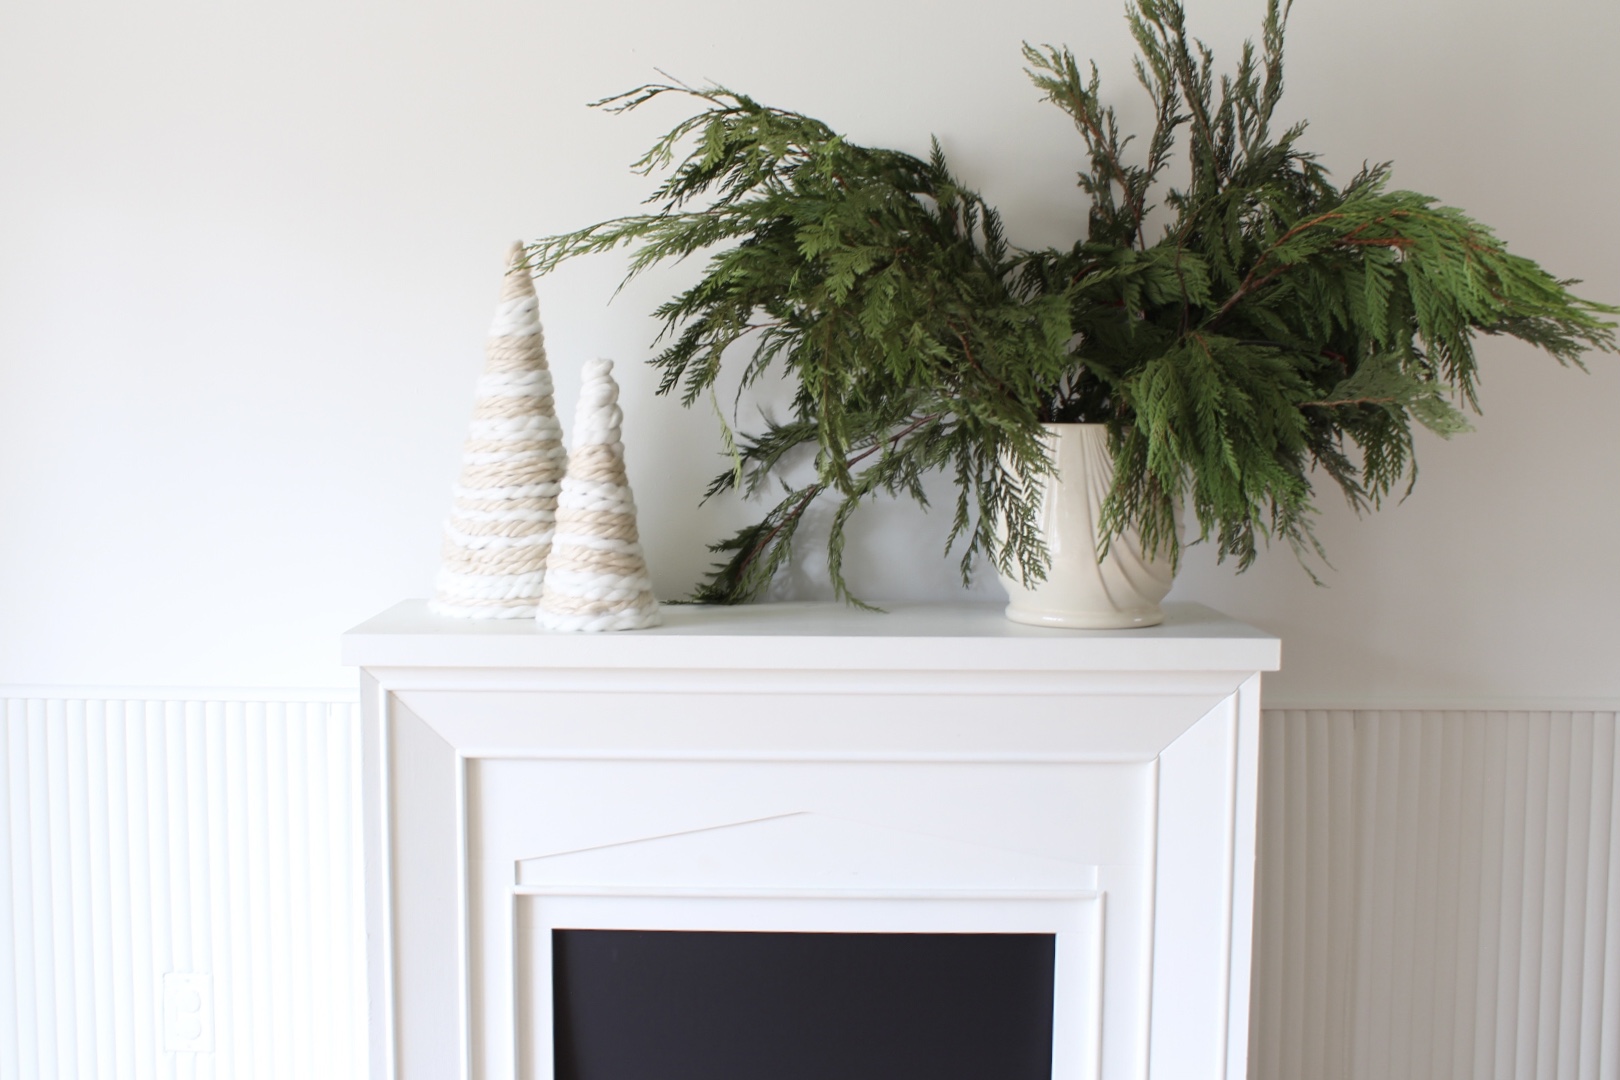
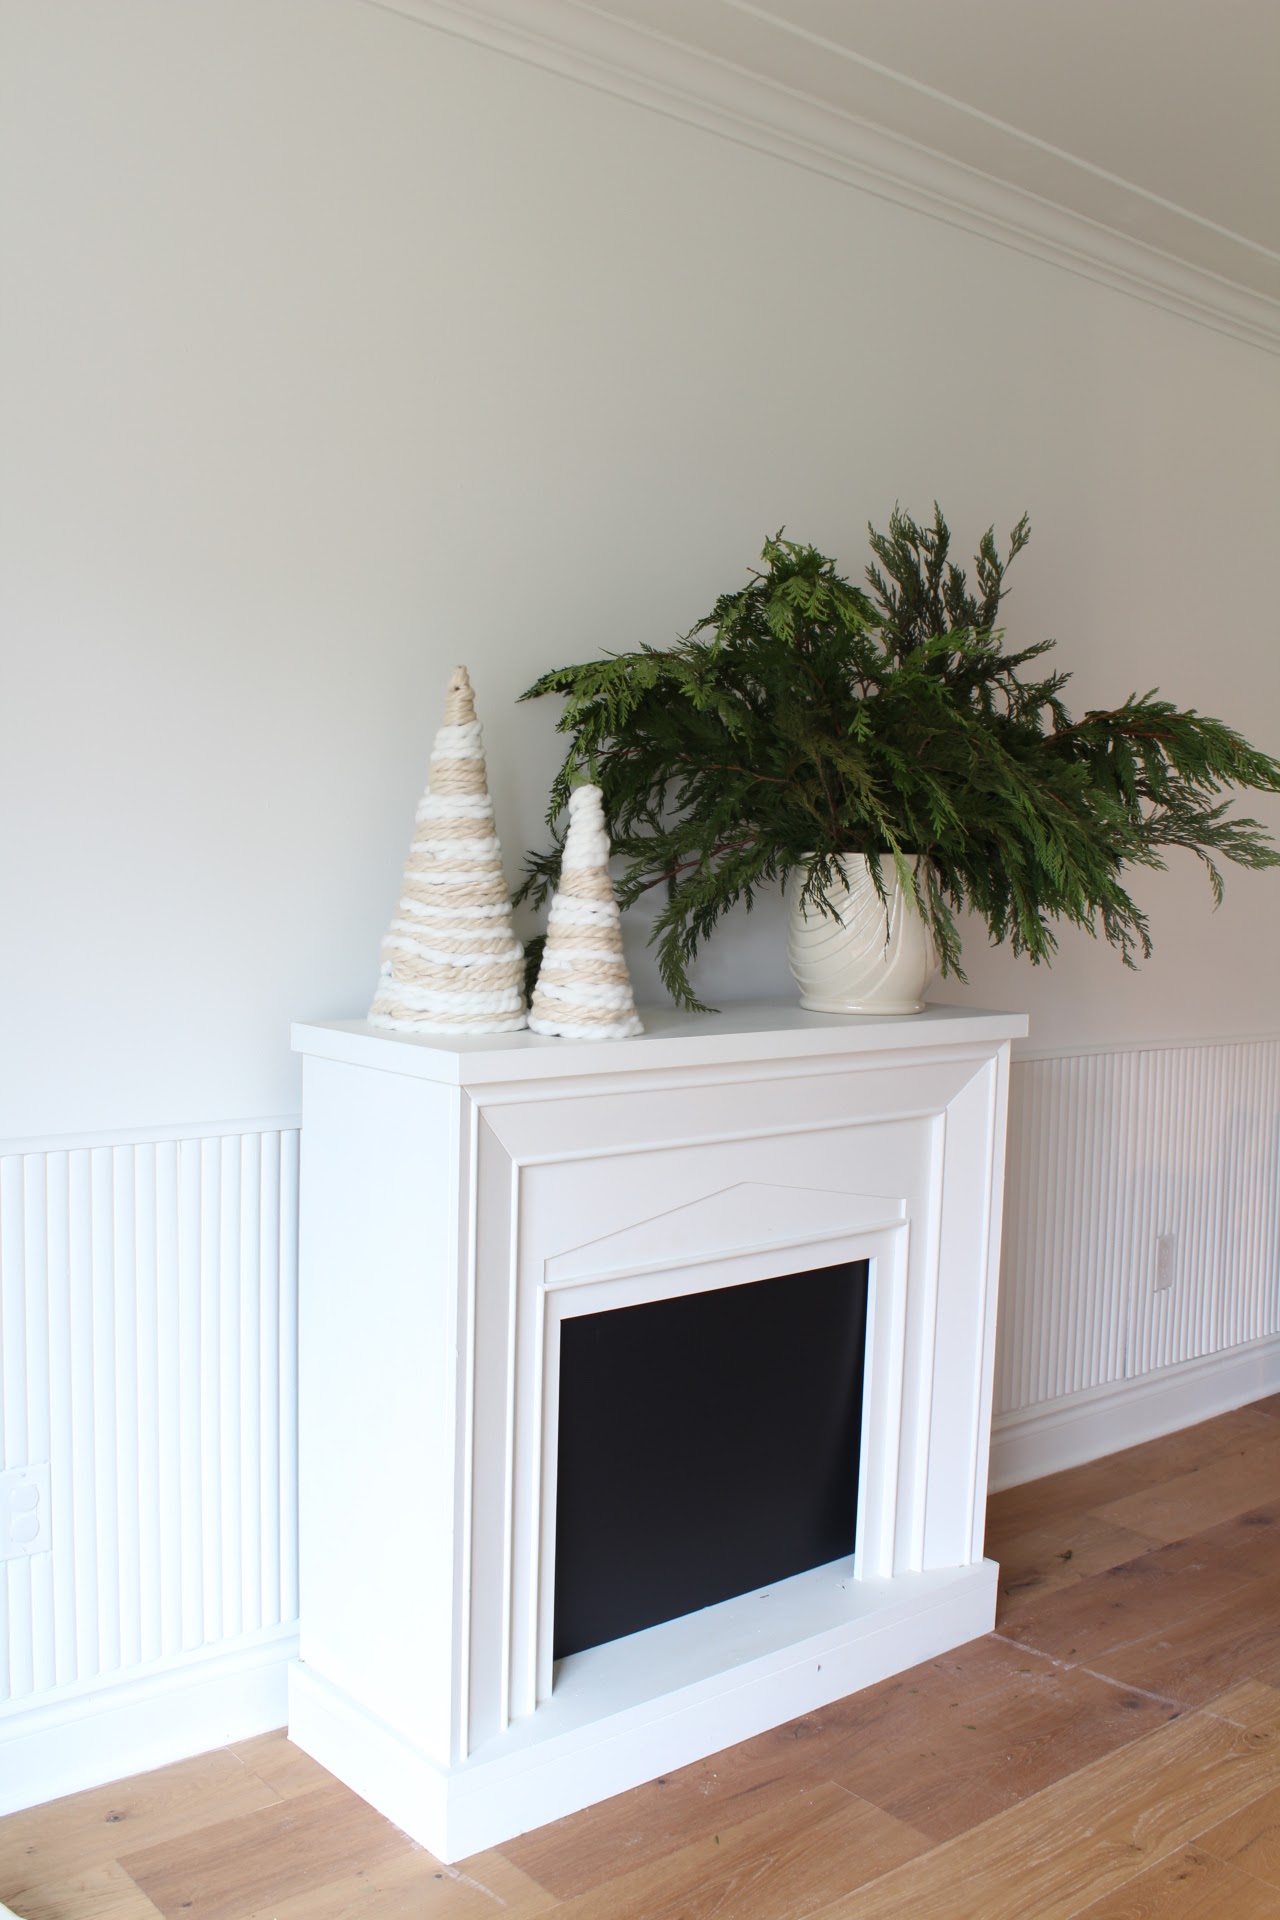
These trees look great on my Scandinavian minimalist Christmas mantle and are easy to store. I love the way the turned out. I can't wait to make more for family and friends.

DIY Chunky Yarn Christmas Trees-07

DIY Chunky Yarn Christmas Trees-08

DIY Chunky Yarn Christmas Trees-09

DIY Chunky Yarn Christmas Trees-10

What are your favourite DIY holiday gifts to make? Let me know if you try this one out.
Happy Holidays!

00:11:00 No comments
Do you love a good moodboard?  Moodboards are an invaluable part of the renovation process. They provide a design roadmap and help to ensure all the elements work together. They also make it easy to identify if something doesn't work before you make a costly investment. Aesthetically blending flooring, paint, wallpaper, finishes and furniture can sound easy but many people find it overwhelming. As part of their 2021 Style Watch Influencer Campaign, Flooring Canada sent me a design kit full of amazing flooring samples and accessories to build a moodboard for our beach bunkie and to give some tips along the way. So, today, I’m sharing my 5 key tips for building the perfect moodboard:

5 tips to create a moodboard
23:32:00 No comments

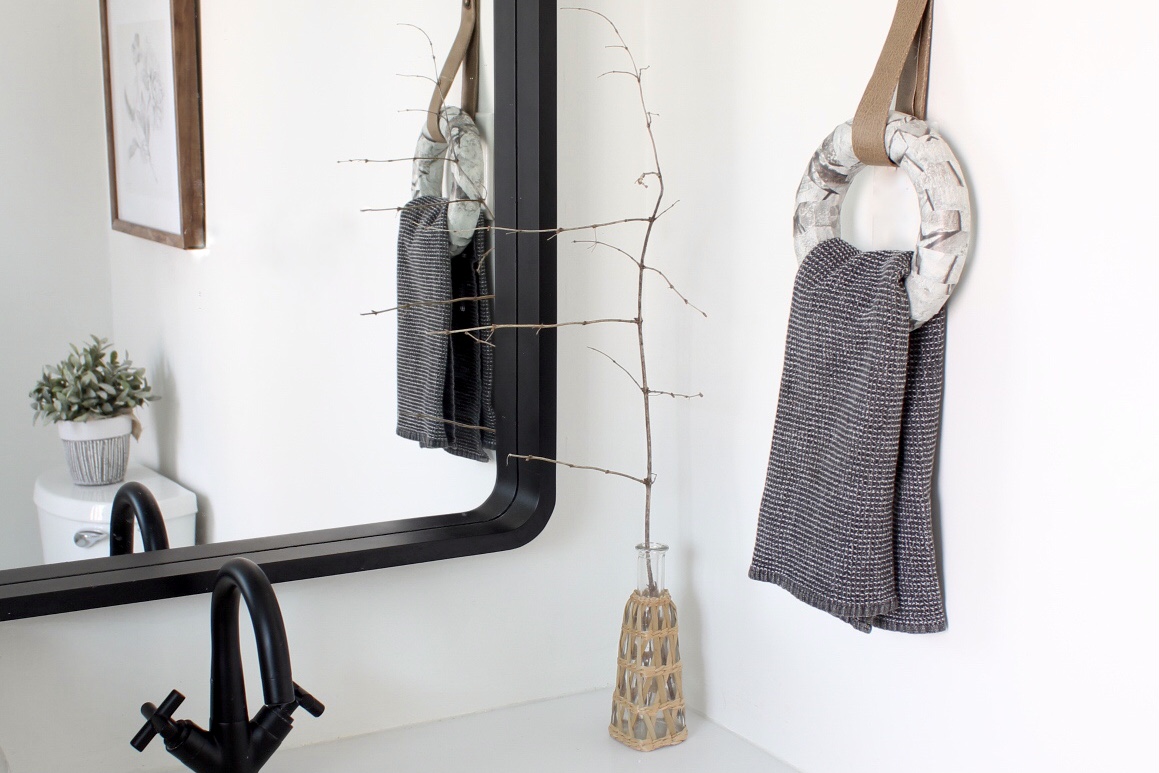
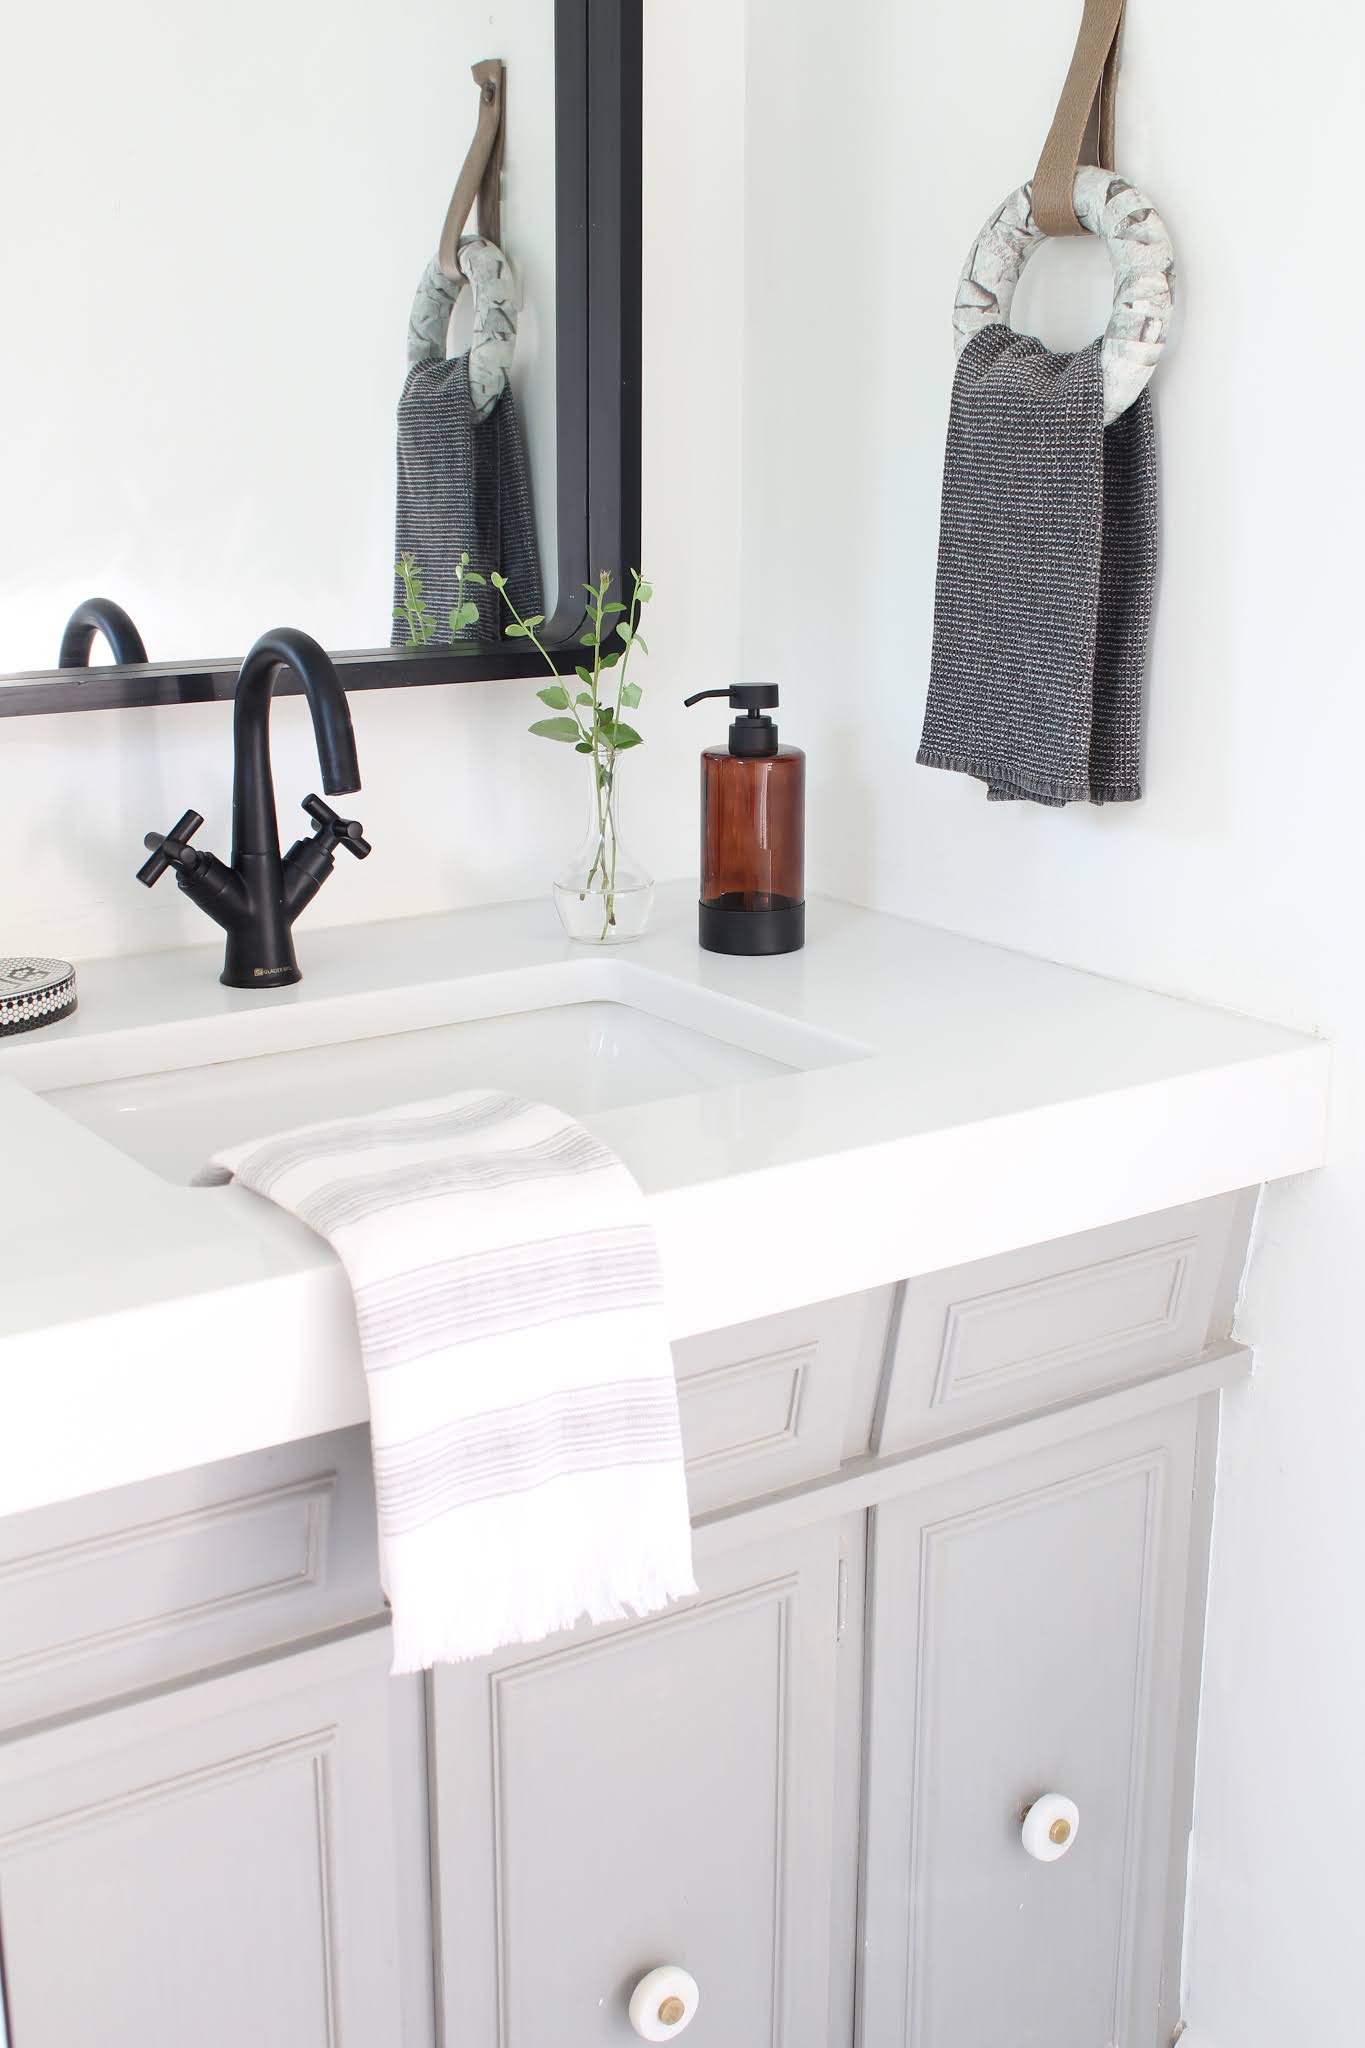
We're bringing you this fun little bathroom makeover because it's long overdue and we've got a fun DIY to go with it. To be honest, it wasn't until I made this cute DIY towel ring holder that I got excited to write about the bathroom renovation overall. It was very much a spur of the moment renovation decision which doesn't always work. I usually have a fully thought-out moodboard, 3d rendering and finishing selections but with this renovation it was different. My husband hired the tiler to come in, start demo and I had a day to choose tile. Sometimes jumping in and flying by the seat of your pants works and sometimes it doesn't. We got lucky with this one lol.

Bathroom Renovation with a DIY Towel Ring Holder

bathroom renovation with DIY Marble Towel Ring


Bathroom Renovation with a DIY Towel Ring

22:31:00 No comments

A few weeks ago we chatted about plaster and it being a hot new trend in interior design, everything from tables to vases to candlesticks. With it's cool white hues and chalky texture it's easy to see why people are loving plaster. Plaster can elevate any space and take it to the coast of California. Today we're sharing an easy idea to make some plaster accents for your home specifically DIY mid century plaster candlestick holders. The best part of this DIY is that the mold is made from recycled materials so be sure to use what's in your recycling bin, they'll be a great conversation starter at your next dinner party. 

DIY Mid Century Plaster Candlestick Holders

DIY Mid Century Plaster Candlestick Holders

10:24:00 No comments

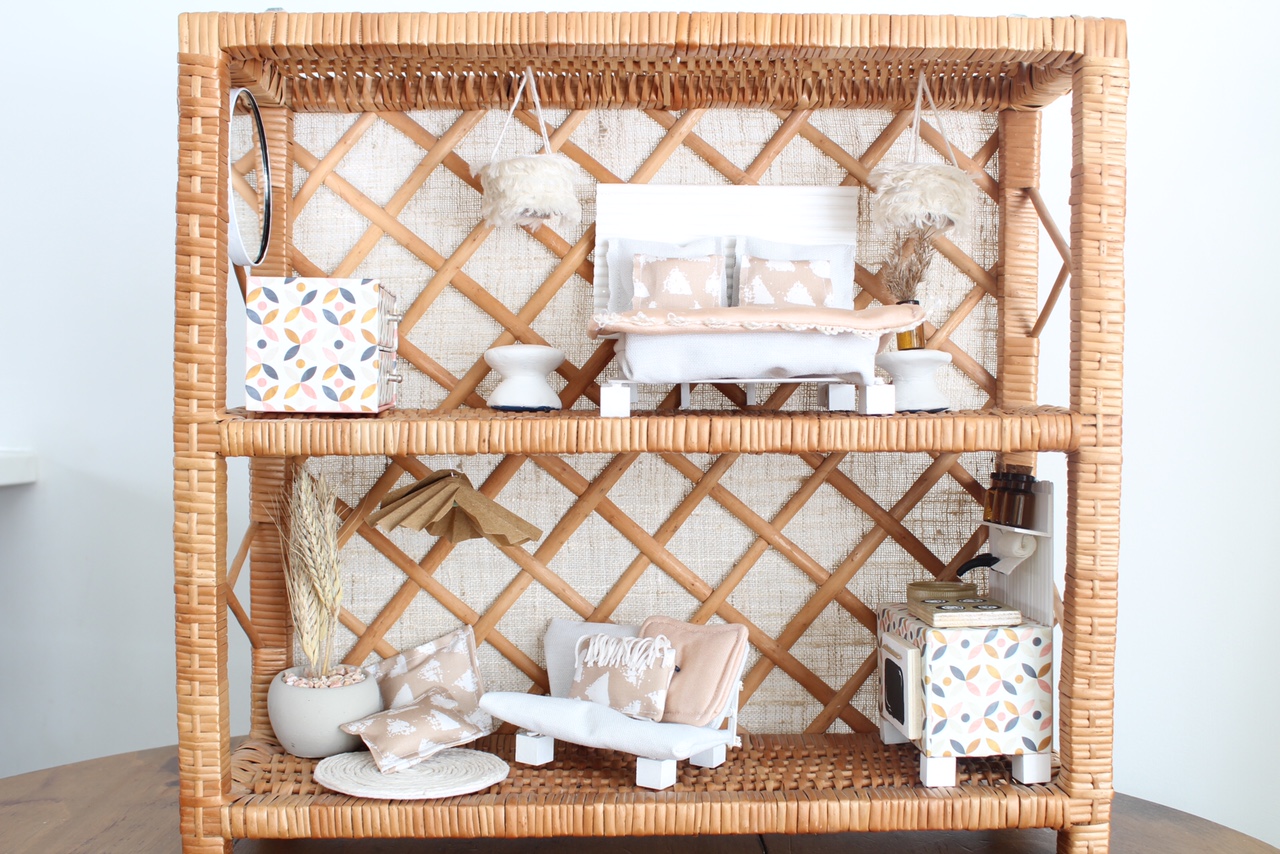
Do you have a nostalgic love for dollhouses? When I was little I loved making dollhouses and I loved making dollhouse furniture out of anything and everything (no joke, I use to make side tables from those white plastic pizza savers). I had a few pieces of real toy furniture but I really preferred to make it. I suppose that's where my love of DIY and Interior Design started. When my boys were small I built them a DIY play kitchen from scratch, needless to say I had more fun making it than they did playing with it and I eventually sold it online. Today I'm sharing another DIY bucket list project, my Modern DIY dollhouse (no, my boys didn't play with this one either but we passed it onto a family friend so it'll get some use).

Modern DIY Dollhouse

Modern DIY Dollhouse

12:43:00 No comments

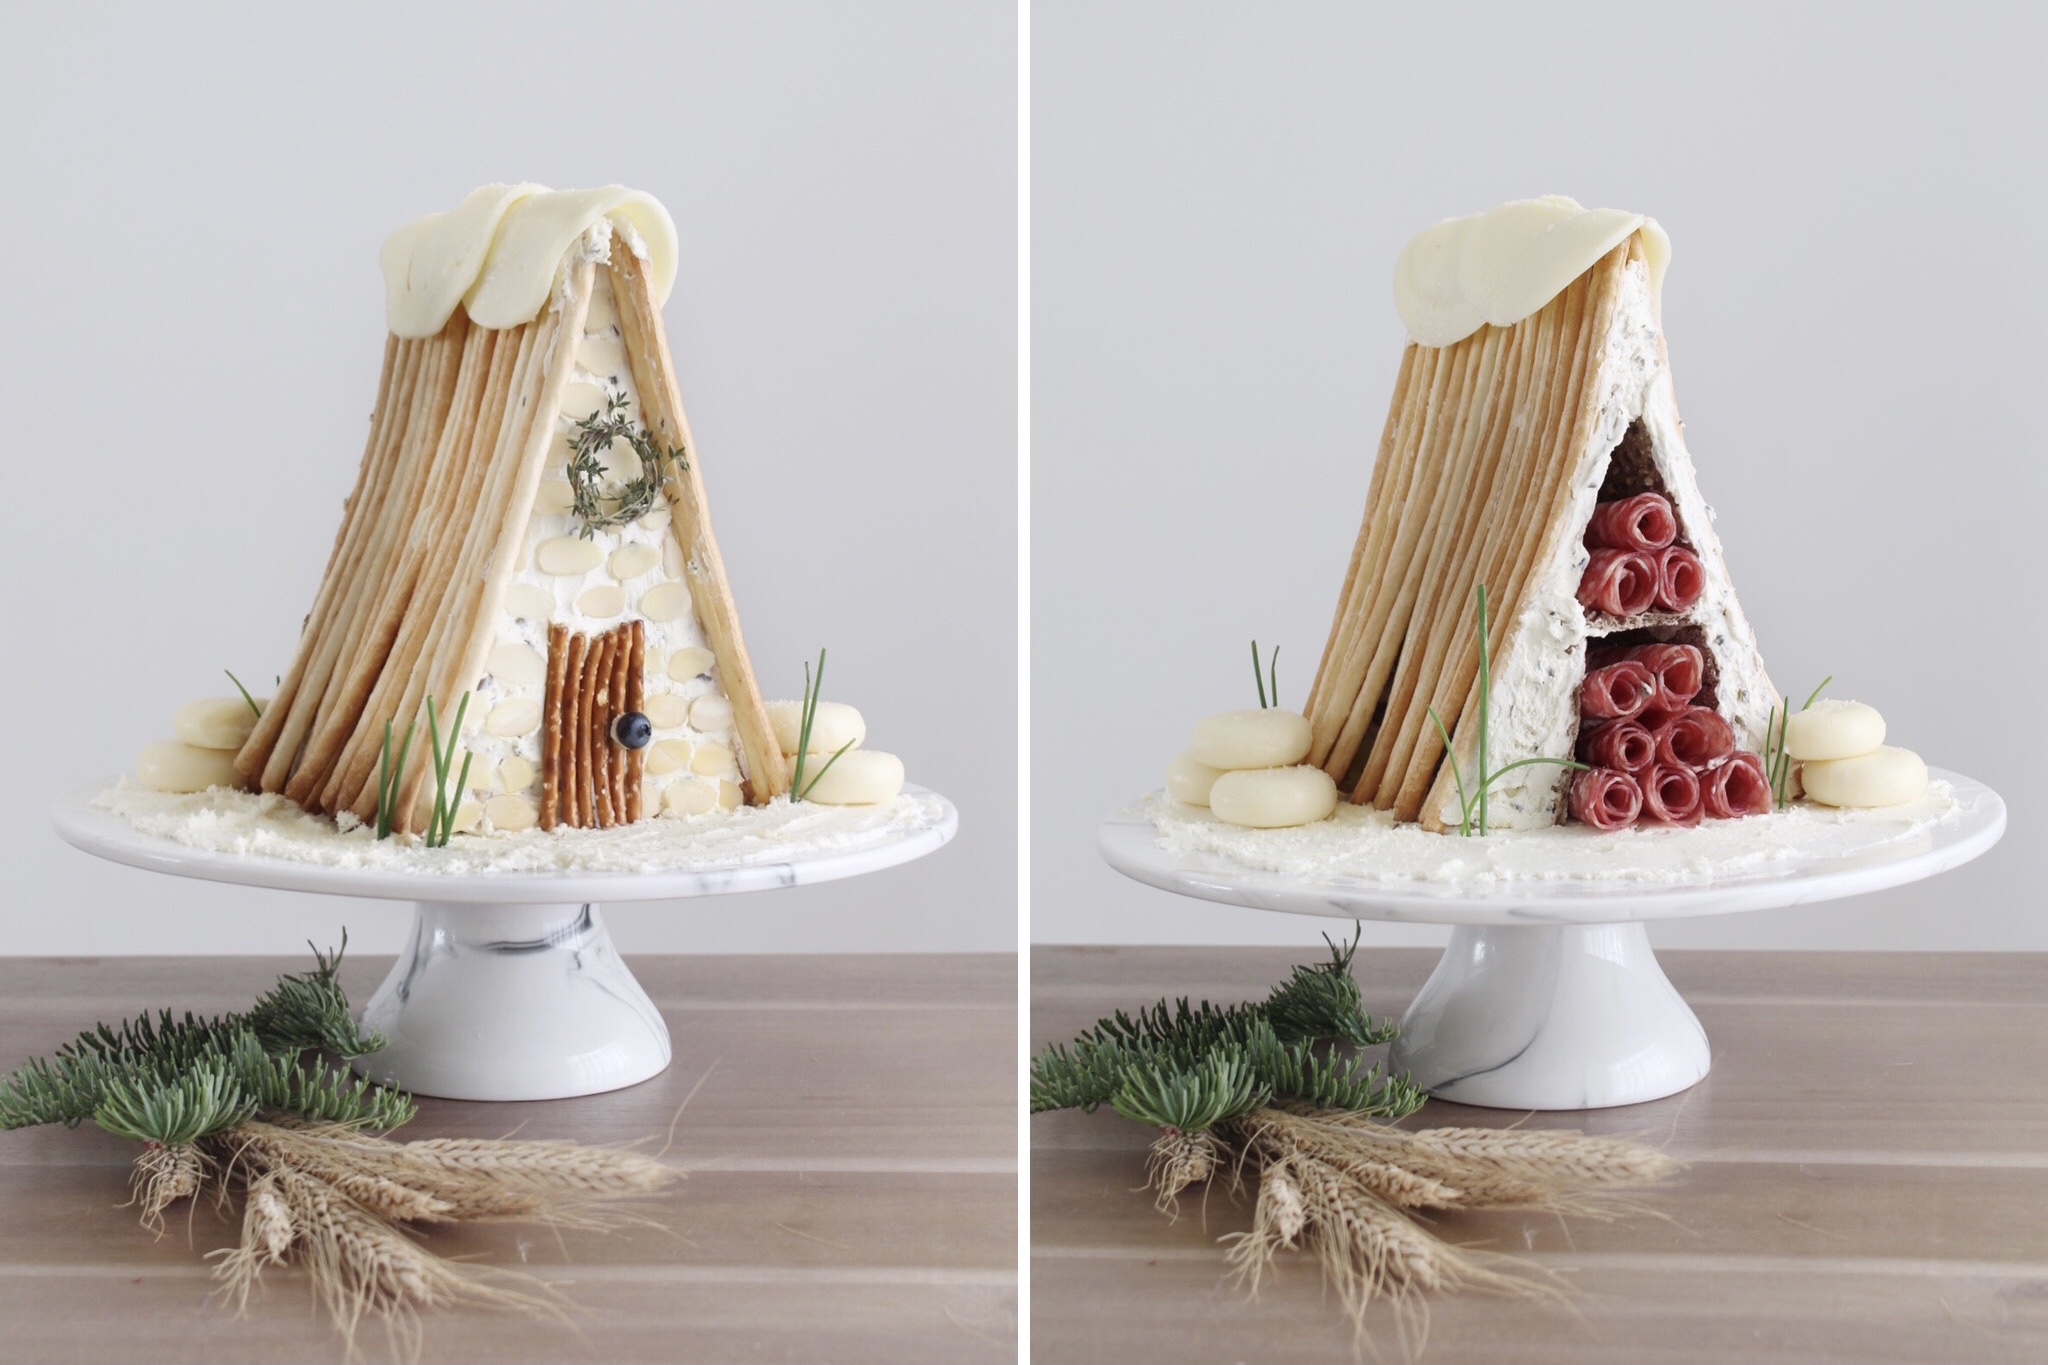
Delight your family this holiday season with a beautiful and savoury charcuterie chalet on your Christmas table. This gingerbread house alternative is all the rage right now and in partnership with Kitchen Stuff Plus we're jumping on board to share our take on this salty treat. Admittedly our charcuterie chalet is a little light on meat and a little heavy on the cheese however we plan to use this chalet as a centerpiece on our charcuterie table so we wanted to elevate it a bit. We love the A-frame cabin shape, it adds a modern touch and is easier to make. Here's how to make a charcuterie chalet:

how to make a charcuterie chalet

how to make a charcuterie chalet

11:56:00 No comments

There's nothing like turning up the Christmas music, putting on the fire and decorating the table for Christmas dinner. And, while we may not be able to have our extended family over for the Holidays this year, we can still make our immediate family table look beautiful.  Today we're sharing a Modern Cozy Holiday Tablescape in partnership with Kitchen Stuff Plus. I love the Christmas selection at Kitchen Stuff Plus, so many different looks and styles, they really are the go-to destination for Christmas!  Plus their Click & Collect process is super quick and easy (perfect for shopping during these weird times).

Modern Cozy Holiday Tablescape

23:41:00 No comments
Do you remember stamp paintings from when you were a kid? Cutting potatoes or apples into various shapes (snacking on the occasional apple here and there), dabbing them into paint and stamping them onto paper. Well this fun craft is back and it's an easy way to create some trendy wall art for your home.  Today I'm sharing some unique DIY stamp paintings ideas,  from a boho rainbow to half moon, and it's all with items you probably have in your pantry. These DIY stamp paintings are a great modern craft to do with the kids and will you have more time at home. 
 
DIY Stamp Paintings Boho Rainbow and Half Moon
 
DIY Stamp Paintings Boho Rainbow and Half Moon
00:54:00 No comments

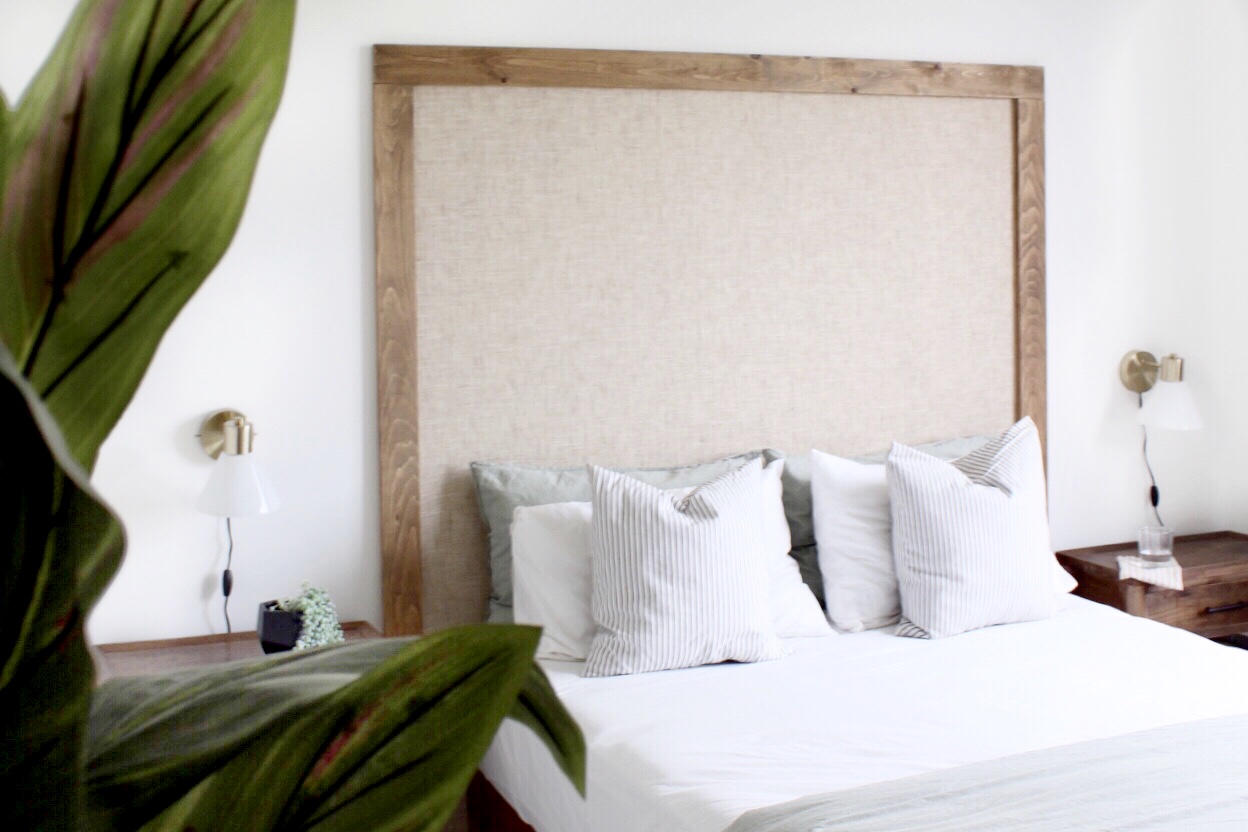
I always laugh when I think about the original design plan for our AirBnB, we were going for a Florida Keys feel but as we got settled and bought some stuff it's taken on a much more Polynesian vibe which I'm totally here for. I think it was solidified when I made this easy DIY cane inspired headboard. 

easy diy cane inspired headboard

easy-diy-cane-headboard-harlow-thistle-3

14:07:00 No comments

Move over pea coats and bombers, there's a hot new jacket in town, the rattan jacket ... for your glassware. Before you spit out your mulled wine hear me out; they come in many shapes and sizes and depending what you pair them with they can change entire the tone of a dinner party. Consider using them to serve a London fog on a rainy evening or a mimosa in the morning, these rattan accoutrements add a little something extra. There's a beautiful seagrass-wrapped pitcher from Anthropologie or check out the Caymen set from Sarena & Lily or the Cane Highball from William Sonoma. And if these don't suit your wallet keep reading and learn how to make them yourself. Today I'm sharing how to jump on this season's hottest trend and make your own seagrass-wrapped glasses.

DIY-seagrass-wrapped-glasses-harlow-thistle-1

14:13:00 No comments
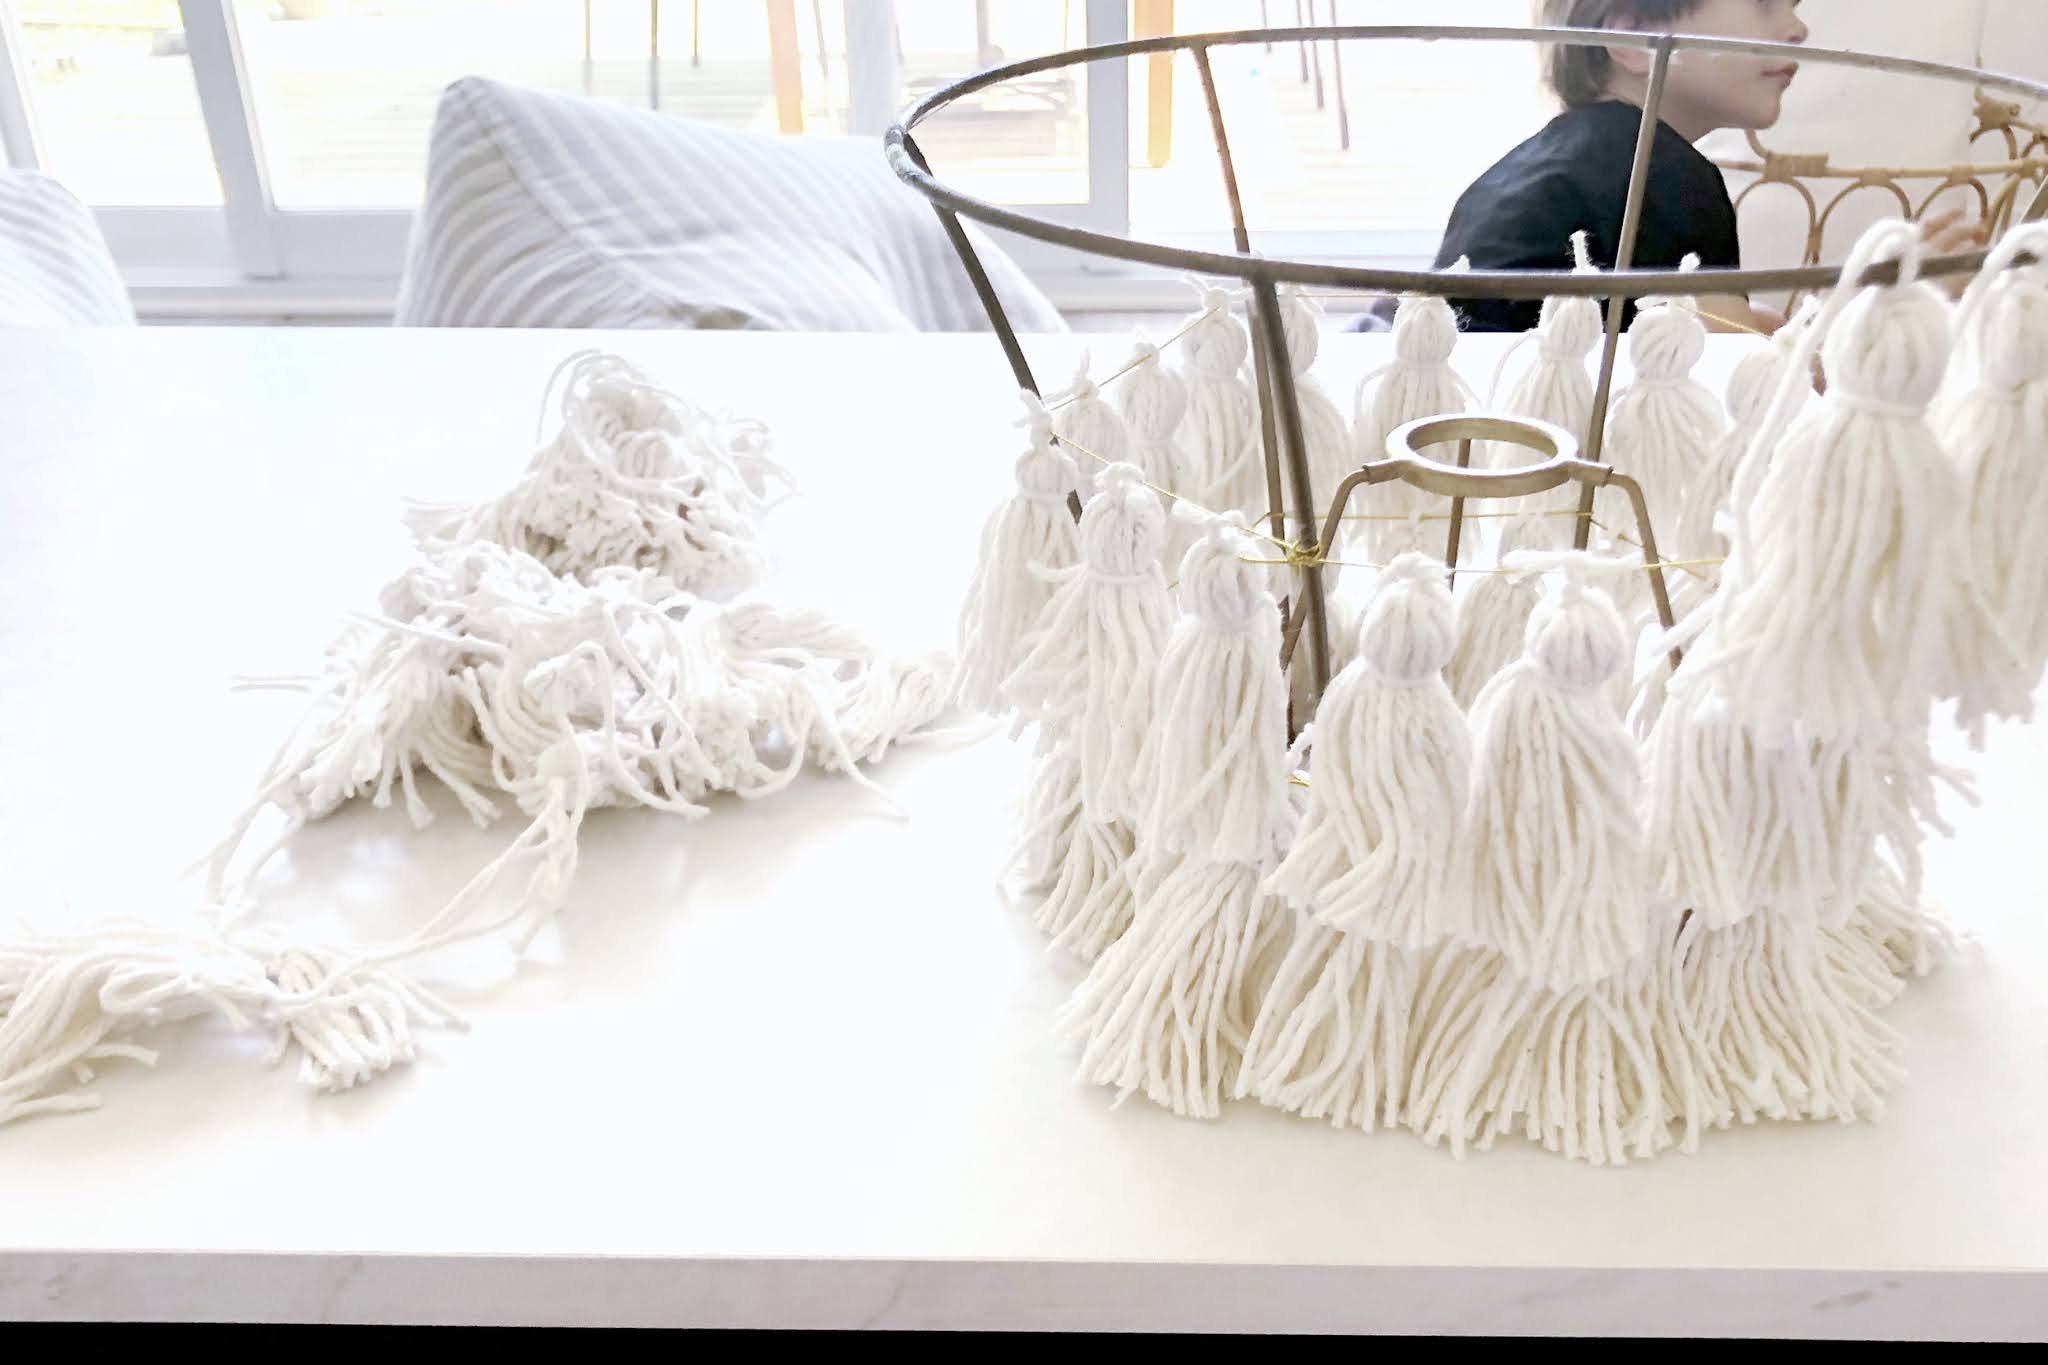
I've had the idea for a DIY Tassel Lampshade in the back of my mind for some time now. When I first saw the tassel chandelier from Anthropologie I knew I wanted to take a shot at making some version of it myself. Fast forward to last week when I was sourcing sconces for our new AirBnB and a light bulb went off... tassel lampshades! Since it's an AirBnB I like to have fun with it and these tassel lampshades fit the bill perfectly. They are the beachy tassel earrings to my fireplace so to speak. Keep reading for all the details on this DIY Tassel Lampshade (Anthropologie inspired of course).

DIY Tassel Lampshade | Anthropologie inspired

13:17:00 No comments
Are you in love with fringe patio umbrellas as much as I am? All winter I was searching for a fringe umbrella for my patio, partly because I was longing for patio season and partly because fringe umbrellas are the perfect modern twist to an outdoor decor staple.  Boy was I surprised at how expensive they were - upwards of $300. If you know me you know I have a hard time paying for something that is excessively marked up because of a trend. So I did what any good DIY design blogger would do and I made it myself. You guys, this DIY  fringe patio umbrella is one of my favourite DIYs ever.  Not only did it save me tons of money but it looks super cute and adds a beachy vibe to my patio.

DIY-fringe-patio-umbrella-harlow-thistle-1

13:14:00 No comments
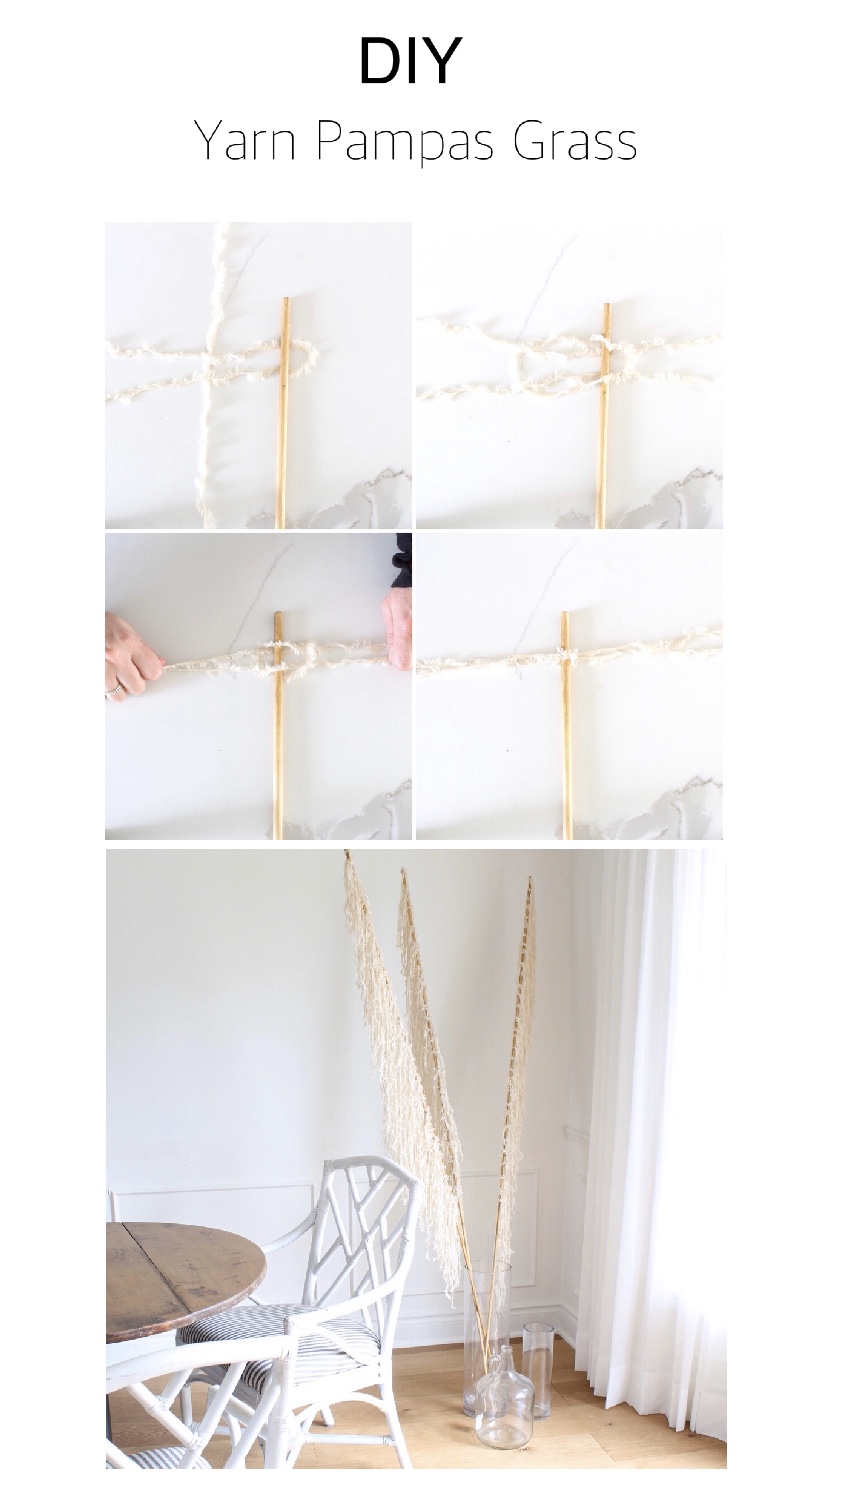
If you're like me you have a couple bunches of pampas grass throughout your home and if you're like me you've found it tricky to keep these billowing beauties from shedding all over the place. Since my love for pampas grass doesn't seem to be going away any time soon I decided to try a little faux version of my own using yarn keeping all the beauty of regular pampas grass without the mess. Here is my DIY faux pampas grass with yarn tutorial.
DIY faux pampass-grass-with-yarn

These are fairly easy and inexpensive to make. Here are the things you will need:

6ft bamboo stakes or 8ft bamboo stakes
Beige fur yarn
Wood stain finishing cloths (natural)

...and if you'd prefer real pampas grass click here.

DIY Faux Pampas Grass with Yarn

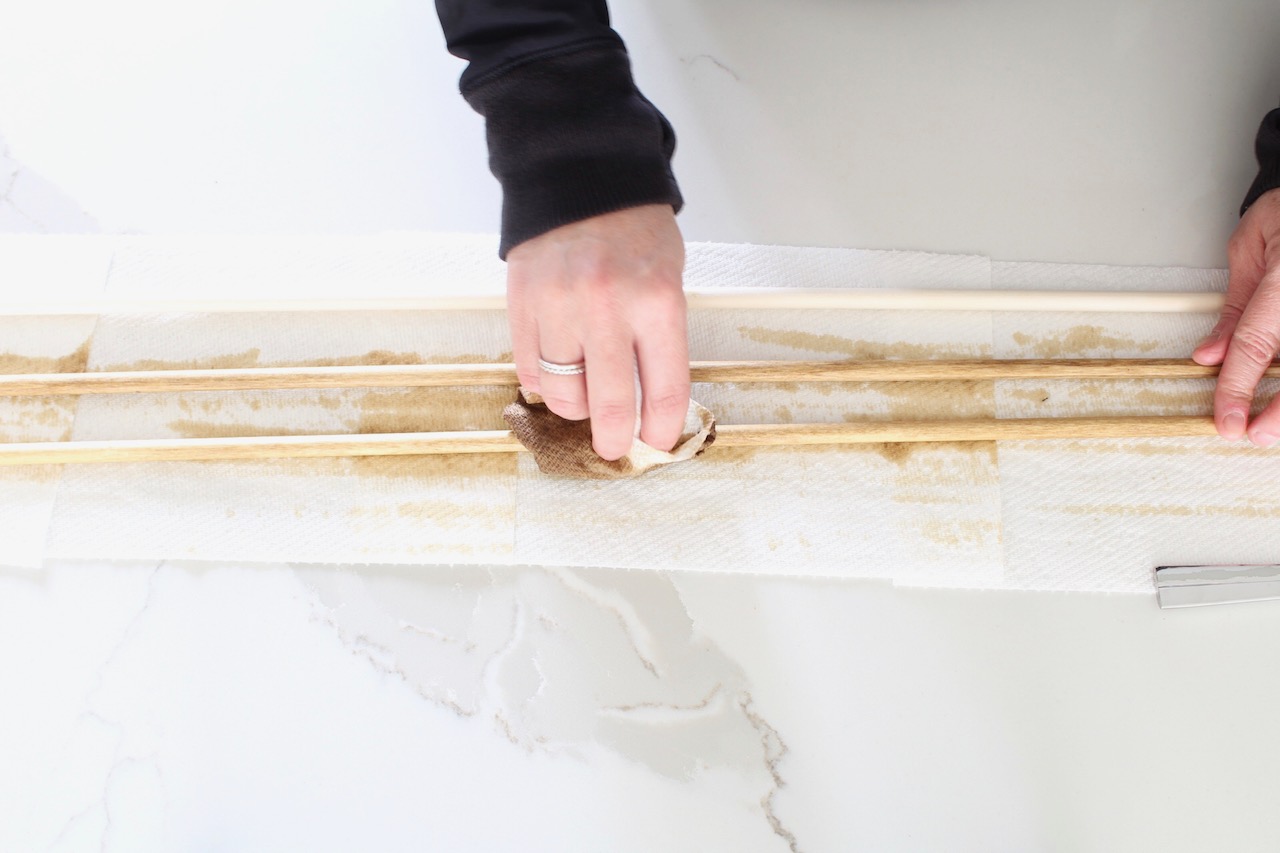
First I stained all the dowel rods to add contrast to these faux pampas grass and make them look more real.

DIY Faux Pampas Grass with Yarn

Then I cut the yarn into thousands of arm length strips.

DIY Faux Pampas Grass with Yarn

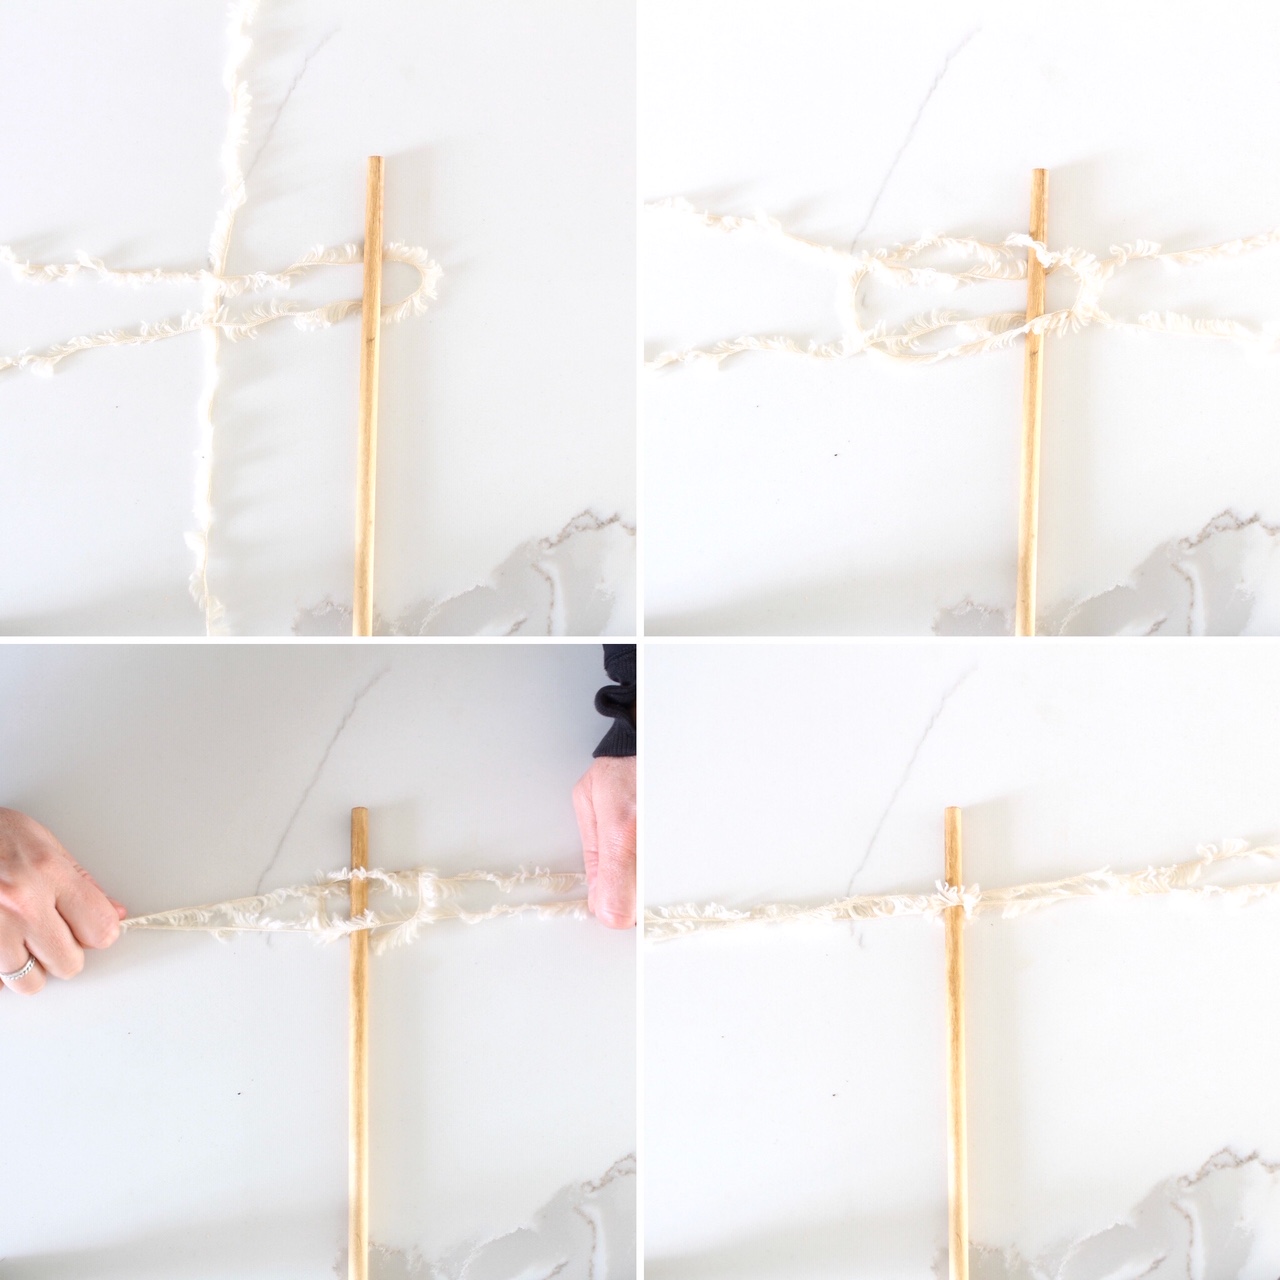
Finally, I adhered the fur yarn to the dowel using a simple macrame knot. This knot makes it easy to move the strips up and down the dowel as necessary and helps add the required thickness to make the pampas grass seem fluffy and real. I suggest adding a few dots of hot glue to the top and bottom knots just to ensure nothing pops off by accident.


DIY Faux Pampas Grass with Yarn

DIY Faux Pampas Grass with Yarn

DIY Faux Pampas Grass with Yarn

DIY Faux Pampas Grass with Yarn

Shop this post:


If you liked this post be sure to check out this post on painted pampas grass.
Be sure to follow me on Instagram to see what I'm up to.
See you again soon.

DIY faux pampas grass with yarn

Harlow and Thistle may earn revenue from affiliate links within this post. See privacy policy for more details.
14:19:00 No comments
Maybe it's nostalgia of the swaying palms from our last beach vacation or the memory of the dried palms in my parent's living room when I was a kid but I can't get enough of them right now. I went on a hunt to purchase a few dried palm fronds to add to my boho home decor but they were hard to find and expensive. So until the market catches up to my dried palm frond hankering I thought I'd make my own DIY dried paper palm leaves.

diy dried paper palm leaves

diy-dried-paper-palm-leaves

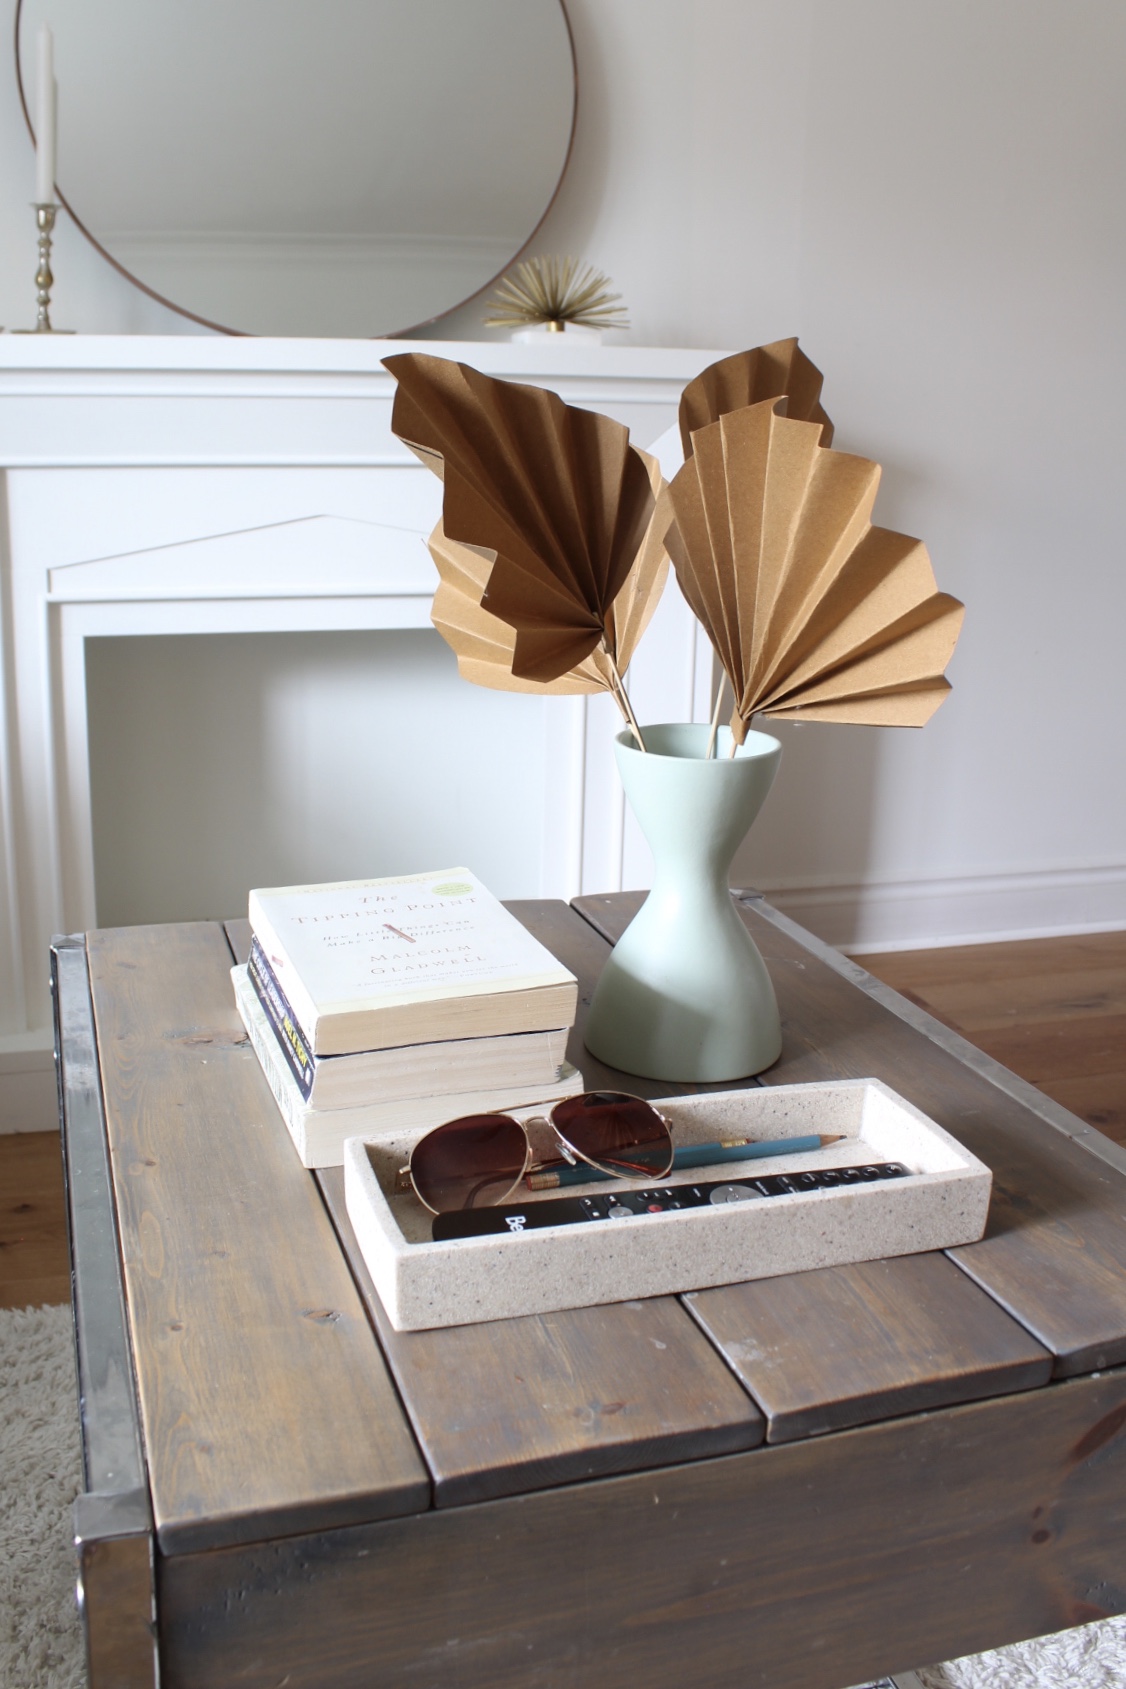
These are fairly easy to make. All you need is some brown paper (Kraft paper works best but it depends on your desired thickness), scissors, hot glue, a marker and a wooden skewer. You can make these of different sizes and colours if you'd like.

DIY Dried Paper Palm Leaves

To start I folded the paper in half and drew a half of spade sort of shape. Then I cut it out and accordion folded the paper diagonally towards the center. I used hot glue to secure the skewer (say that three times fast). Finally I wrapped a small strip of the paper around the bottom to cover the hot glue around the skewer.

DIY Dried Paper Palm Leaves

DIY Dried Paper Palm Leaves

DIY Dried Paper Palm Leaves

That's it! So cute and easy. I love these dried paper palm leaves as party decor or just for everyday home decor. I recently used them in a boho tablescape I made for a backyard barbeque. Honestly you could use them everywhere.

DIY Dried Paper Palm Leaves

Let me know what you think in the comments below and be sure to following me on Instagram for more fun stuff.

DIY Dried Paper Palm Leaves

11:11:00 1 comments
Things are a bit strange right now. It feels like a long Christmas break or lingering summer vacation. The kids are home, the husband is home and there's nowhere to go. We are living in the age of social distancing and staying home. Scary times. Suffice to say I've been going a bit squirrely so I decided to channel this energy into something creative with this DIY boho wall decor with dried grass.
DIY Boho Wall Decor dried grass

DIY Boho Wall Decor dried grass

Making this cute bohemian wall art was fairly easy and the required supplies were minimal. I used some dried grass and reeds I picked up during our family walk a few days ago, some modeling clay from the dollar store, wire and wax paper.

DIY Boho Wall Decor dried grass
I gave the dried grass a good shake and trimmed it down a bit. I pulled out a square of wax paper to lay out my clay. The wax paper not only kept my surface clean but it also made it easy to transfer my finished piece to a drying spot. I used about half the package of clay. I rolled it out into a semi circle. If your clay starts to dry add a few drops of water to loosen it up.

DIY Boho Wall Decor dried grass

Then I pressed my dried grass into the clay like rays of sunshine. Once I got the look I was going for I added another semi-circle of clay on top and sealed off the edges. Finally I secured a piece of wire in the clay to hang it after it dried.

DIY Boho Wall Decor dried grass

DIY Boho Wall Decor dried grass

DIY Boho Wall Decor dried grass

I contemplated painting the clay but in the end I decided I liked the rustic natural look, I think it helps add to that bohemian feel of the wall decor. 

DIY Boho Wall Decor dried grass

DIY Boho Wall Decor dried grass 33


09:43:00 No comments
Older Posts

Hello!


Hi! I'm Andrea, I'm a Designer, a momma and a hopeless DIY'er. My passion to achieve luxe for less led me to create Harlow & Thistle, a place to get home design inspiration and modern DIY home decorating ideas.

Email me to collaborate: harlowandthistle@gmail.com

SUBSCRIBE NEWSLETTER

Featured On

https://www.stylemepretty.com/living/2019/03/11/inside-harlow-thistles-mid-century-renovation-project/
 
https://houseandhome.com/video/blogger-harlow-thistle-budget-friendly-suburban-home/

https://www.styleathome.com/decorating/trends/article/the-hottest-design-trends-for-2017

Follow

Featured post

Modern Living Room Makeover

Popular Posts

  • DIY Gold Cake Stand
  • DIY Burlap Christmas Tree
  • DIY Holiday Ornament / Party Favour

Recent Posts

Created with by ThemeXpose