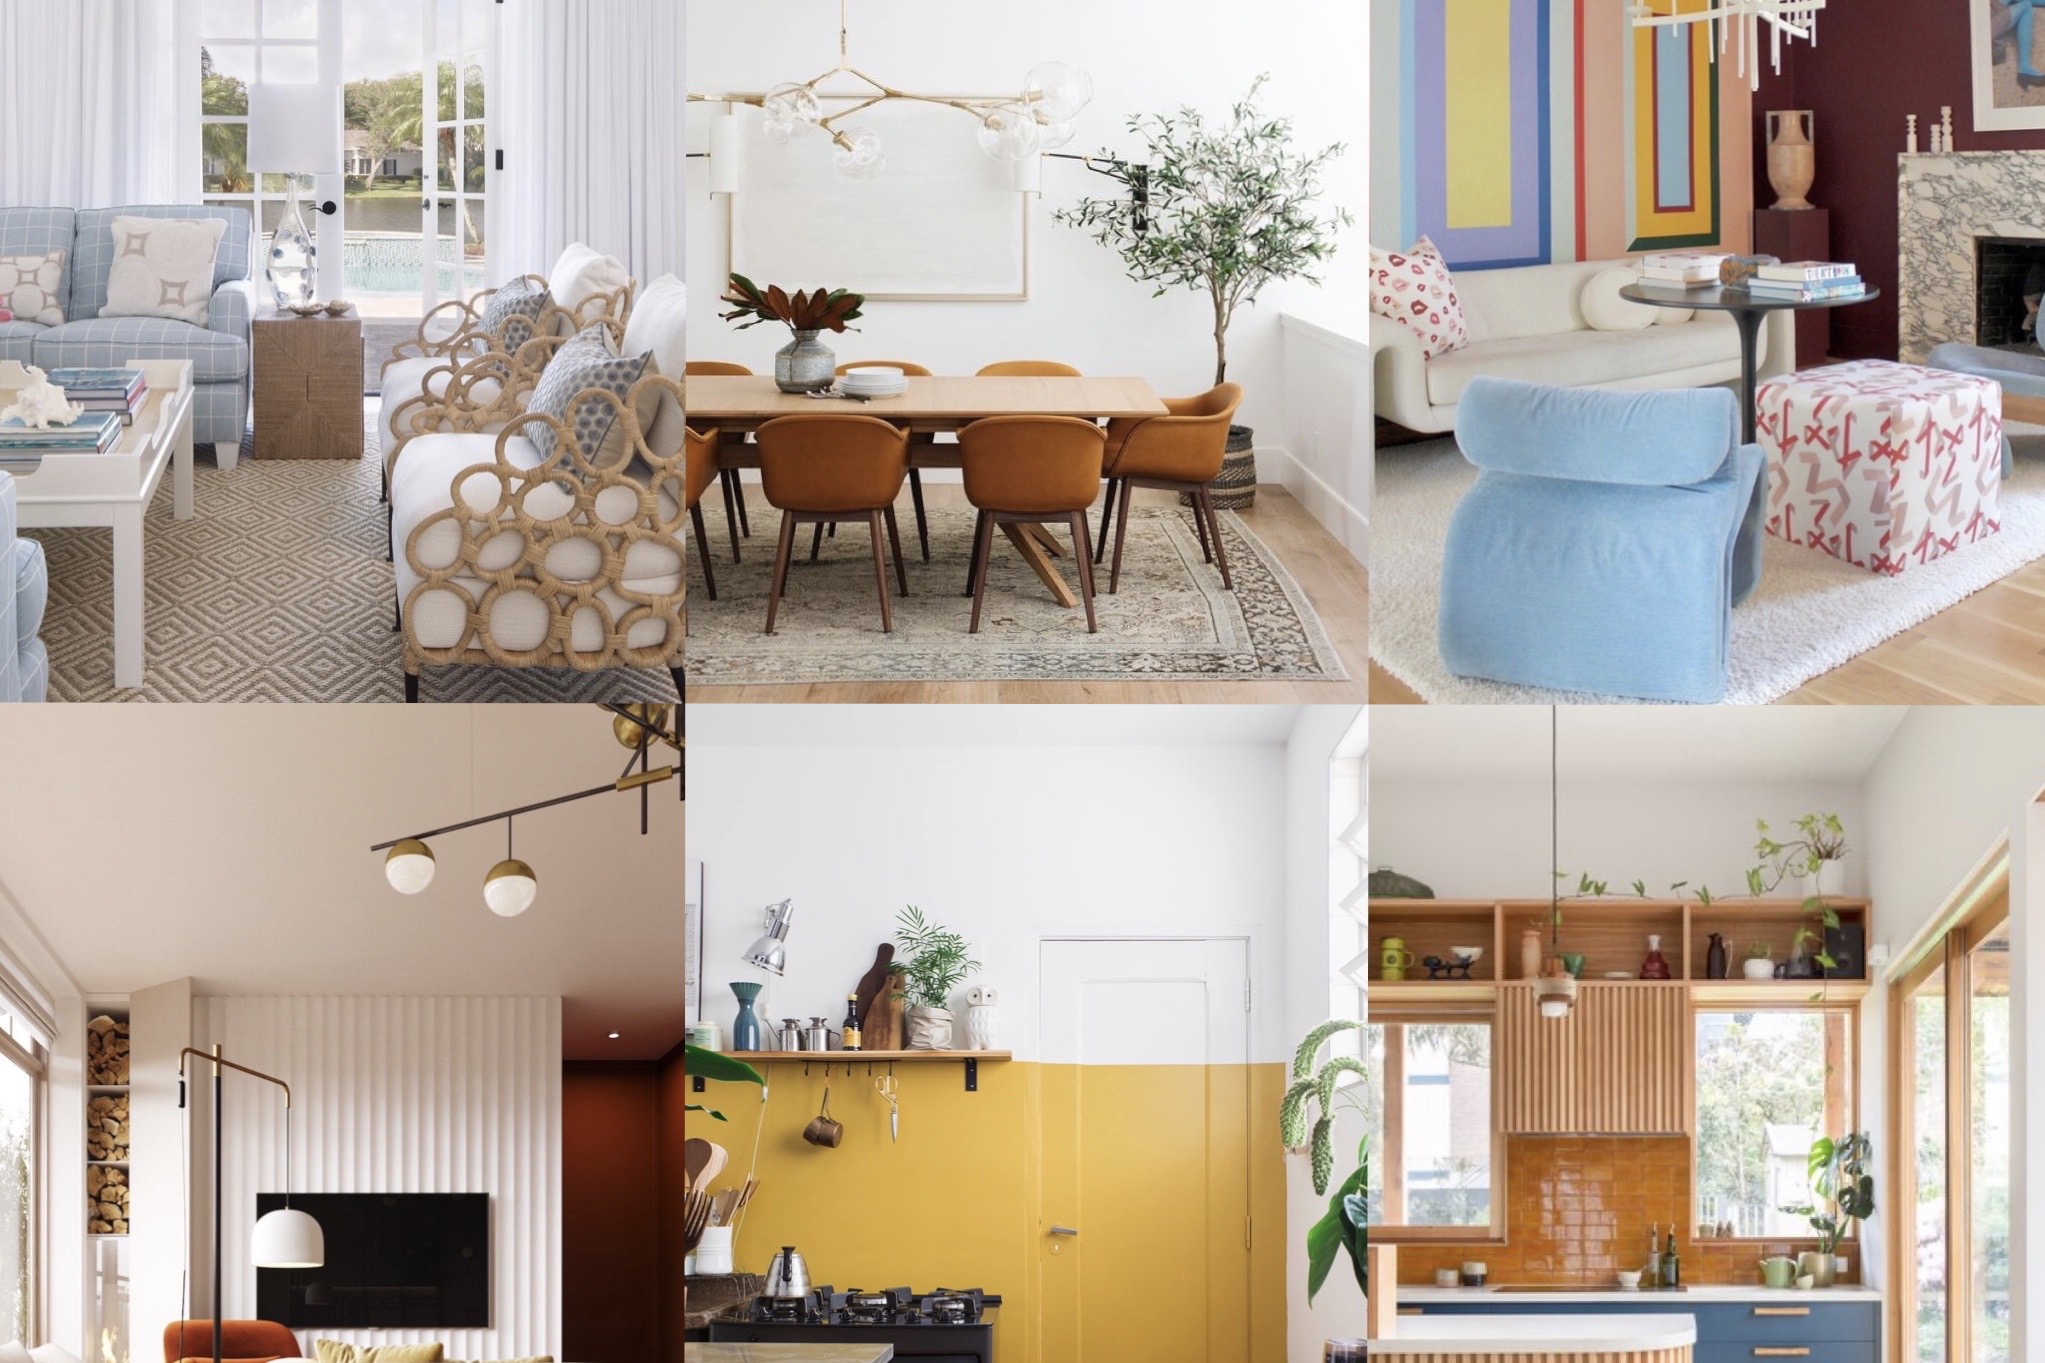
If you're too old for celebrating Halloween or dressing up (let's be honest you're never too old to dress up), you can always have a minimalist Halloween dinner party. Today I'm sharing our Halloween table scape which is as much interior design as it is Halloween decor. I'm a big fan of modern minimalist design in general and when it comes Halloween design I like to keep it that way. Let's be honest I'm not into the gore of Halloween (it kind of scares me lol), I prefer the fun subtly creepy side of decor. See details of my Halloween tablescape below:
Do you have a favourite Halloween candy? Are you unwavering in your choice? Not only is it a sweet treat there is also a lot of nostalgia behind Halloween candy, especially considering how little it's changed through the years. Now there are many blogs out there talking about what your favourite Halloween candy says about your personality so we thought we'd have some fun and take a different route by helping you decipher your interior style according to your favourite Halloween candy.
1. Whoppers = Industrial Style
Whoppers are reminiscent of the industrial era. These chocolate covered-malt balls are from days gone by yet they still fit in today's world similar to Edison bulbs and factory lofts of Industrial style. If you like Whoppers then your interior style is Industrial.
Image Source: Notre Loft
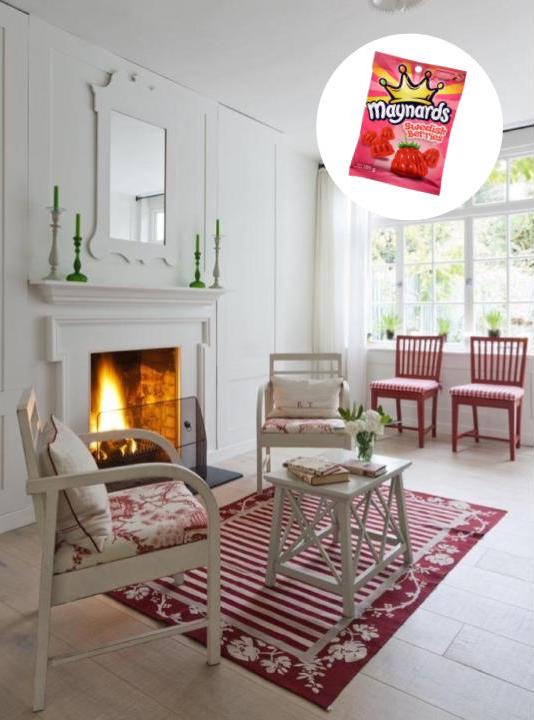
2. Swedish Berries = Scandinavian Style
Per their namesake, if your favourite is Swedish Berries you lean towards the Scandinavian interior style. Swedish Berries have an edited composition that is both soothing and enjoyable similar to Scandinavian style. They have the perfect mix of sweet, tart and chewy. All the things that bring joy and nothing else.
Image Source: Katrin Cargill
3. Reese's Peanut Butter Cups = Contemporary Style
Classic, cool and "of the now". If you like Reese's Peanut Butter Cups your interior style is contemporary. Focusing on the basics of shape and form, Reese's also focus' on the basics of taste, the perfect treat (assuming you're not allergic to peanuts).
Image Source: Studio McGee
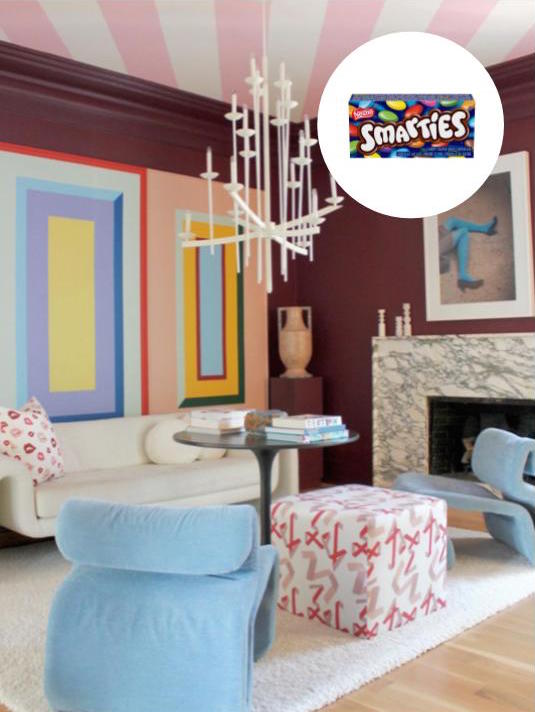
4. Smarties - Art Deco Style
If you like Smarties then you might lean towards an Art Deco interior style. Just like Smarties, Art Deco encompasses bold colours and shapes and focuses on appreciating/enjoying each piece individually. So, do you eat the red ones last?
Image Source: Angela Chrusciaki Blehm
5. Coffee Crisp = Mid-Century Modern Style
If Coffee Crisp is your favourite then a mid-century modern interior style is probably for you. Like mid-century modern style, Coffee Crisp was a post-war development that introduced new ingredients into the traditional chocolate bar much like the new materials ushered in with mid-century modern style.
Image Source: HD M2
6. Bounty = Coastal Style
This one is a no brainer. If your favourite Halloween candy is Bounty then your interior style is Coastal. Coastal in it’s basic form is beachy and Bounty in it's delicious form is coconut, the nut of the beach. With coastal style in your home, it feels like summer all year round, similar to the feeling Bounty evokes every time you bite into it.
Image Source: Leah Muller Interiors
7. Twix - Modern Farmhouse
If Twix is your favourite Halloween candy you may be more inclined to a Modern Farmhouse interior style. Modern Farmhouse has many key elements but one of the most important is symmetry and while this is always an important part of harmonic design it is a strategic design feature in modern farmhouse style. Plus Twix has a cookie base and nothing screams farmhouse like the smell of fresh cookies.
Image Source: Old Seagrove Homes
8. Milk Duds = Vintage Revival Style
Did you know that they named Milk Duds "duds" because they were aiming to make them round but couldn't achieve it so they called them "duds". I love this candy for it's perseverance and moxie. If Milk Duds are your favourite then Vintage Revival style is probably you preferred interior style because vintage is the ultimate comeback story and both Milk Duds and vintage revival style have an everlasting classic appeal.
Image Source: Historias de Casa
Which Halloween candy is your favourite? Does it match your current interior style?
I know it's heavily weighted in chocolate so you can probably feel our bias.
Thanks for stopping by for a bit of Halloween fun.
23:55:00
No comments
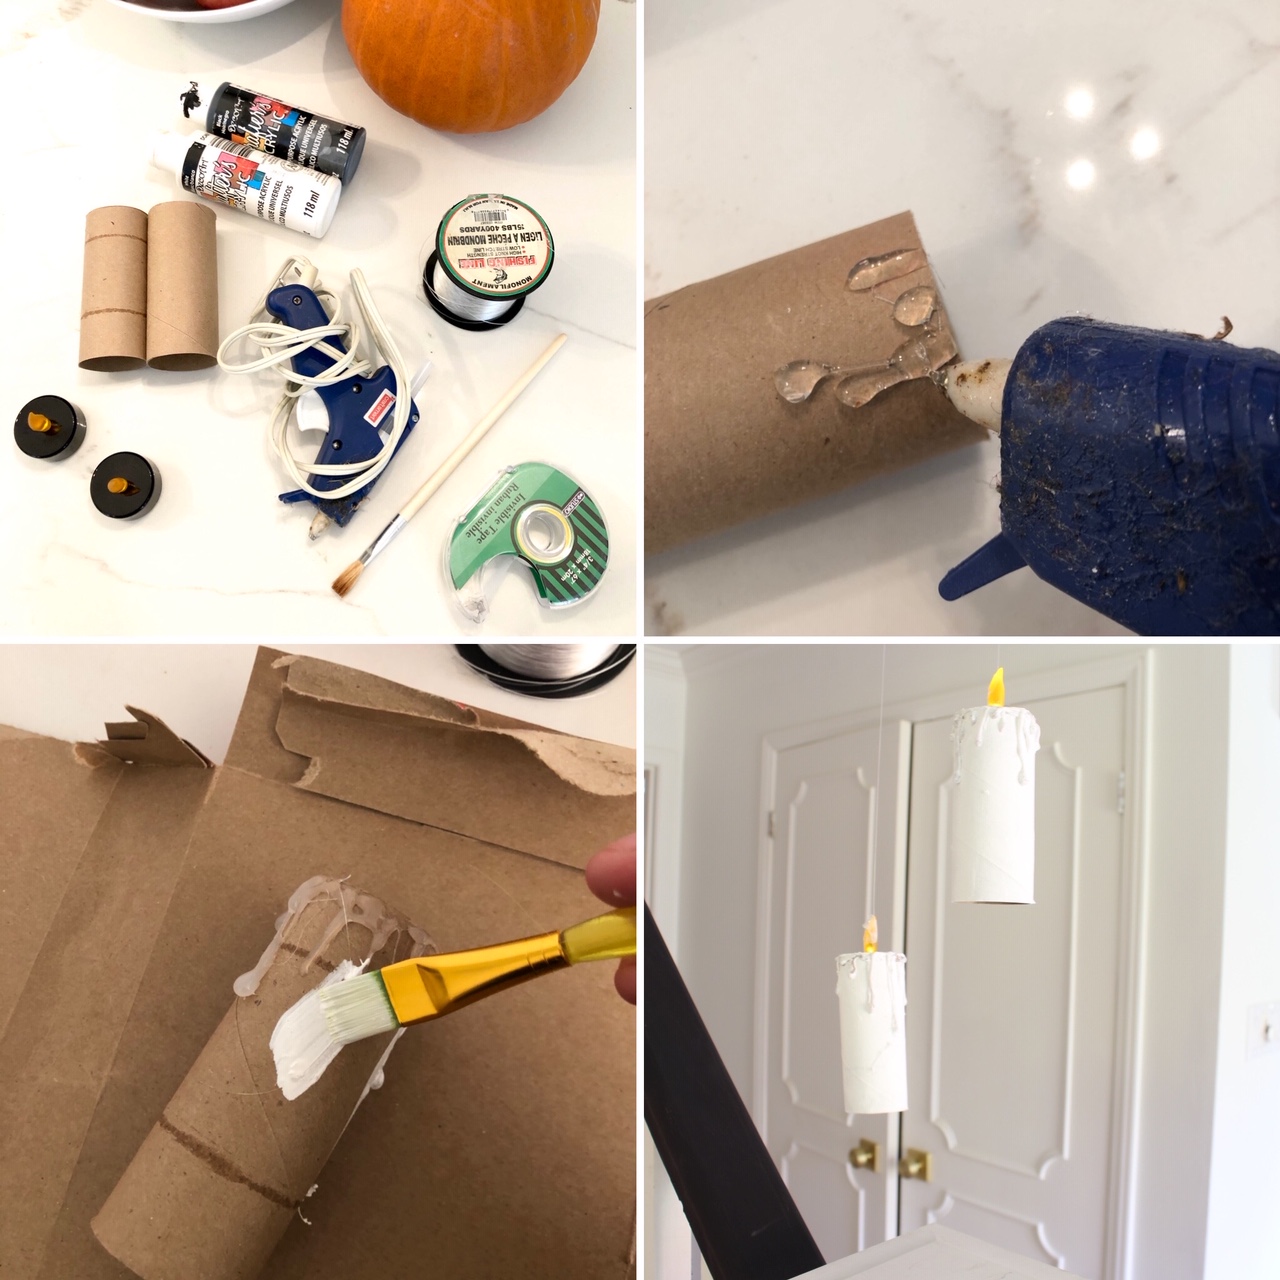
Looking for a quick and easy last minute Halloween decor idea? Check out these DIY Floating Candles made from toilet paper rolls. Imagine opening the door to tricker-treaters in the dark with a bunch of these DIY floating candles hanging from the ceiling, very spooky.
DIY Floating Candles Instructions
Step 1: Gather your supplies, you will need; toilet paper rolls, battery-powered tea candles, fishing line, hot glue, white paint, scissors and scotch tape.
Step 2: Start by edging the top of the toilet paper rolls with hot glue and make some large drips.
Step 3: Once cooled, paint the entire toilet paper roll white.
Step 4: Place two-way tape around the tea-candle and press it into the top of the toilet paper roll (paint the top white if it's not white).
Step 5: Tape a piece of fishing line to the candle and hang it from the ceiling. Voila.
Hope you have a Happy Halloween :)
23:02:00
No comments
Are you on the hunt for some DIY fall decorating ideas? Well, I've joined up with two other bloggers to share some simple and modern DIY fall projects for your front door. After you're done checking out my DIY Fall Wreath below be sure to hop on over to Kate from Emmett's ABC's and Erica from Anna Georgianna to check out how they're making their front door fall ready.
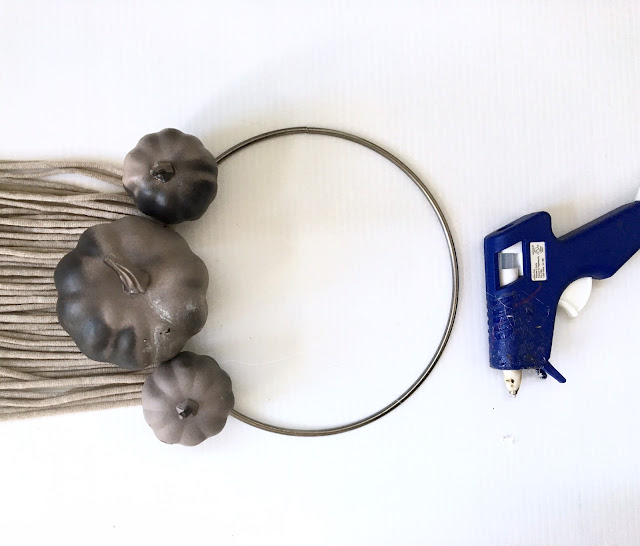
I bought these plastic pumpkins from the dollar store and spray painted them various shades of black and grey. I then tied some yarn onto a dream catch ring using the technique from my DIY Yarn Wall Art post and cut the yarn in a straight line. Finally, I used the glue gun to adhere the pumpkins to the ring. It's a pretty simple and small DIY but it looks super cute on the door and will probably last me until Halloween.
And if you'd like to check out more modern fall (non-orange) decor check out how I decorated my dining table for fall.
Thanks for stopping by!
I bought these plastic pumpkins from the dollar store and spray painted them various shades of black and grey. I then tied some yarn onto a dream catch ring using the technique from my DIY Yarn Wall Art post and cut the yarn in a straight line. Finally, I used the glue gun to adhere the pumpkins to the ring. It's a pretty simple and small DIY but it looks super cute on the door and will probably last me until Halloween.
PS - I know, one of my fern's has seen some better days - poor guy, his brother looks so good.
And if you'd like to check out more modern fall (non-orange) decor check out how I decorated my dining table for fall.
Thanks for stopping by!
17:19:00
No comments
Happy Fall! If you are coming here from Summar's Cozy Home Chronicles blog, I hope you are enjoying the #FallingintoAutumn blog hop so far. Scroll down to see my unique take on fall decor.
Are you like me and not really into the traditional colours of Fall decor? Are you always on the lookout for more modern autumn decor - less orange more neutral? Don't get me wrong, I love the Fall for the crisp air, changing leaves, turkey etc but I'm just not into orange so I struggle to get festive each year.
This year I was invited to join a few other bloggers in the #FallingintoAutumn Blog Hop. I decided to do something different and decorate in black, white and faux fur. I guess this isn't too different given I'm usually working with at least one of these. If you caught my Instastories earlier this week you may have caught a glimpse of my set up, if not, be warned, it's not your traditional fall decor.
When you're finished checking out my space below be sure to hop on over to the next featured blogger Areeba at Mint Candy Designs.
My look consists of some simple and inexpensive fall table decorations you can find around your home. I used some old black fabric for the napkins, a faux fur rug from my sons room (Homesense), some gold cutlery (also from Homesense) and some white gourds (obviously something had to say fall). I picked up some eucalyptus branches and created this great DIY wall hanging - DIY instructions coming to the blog tomorrow.
Don't forget to check out the rest of the beautiful tablescapes in the Falling into Autumn Blog Hop!
19:00:00
6
comments
Happy Halloween! Sharing some of our Halloween decor and costumes on the blog today.
My son and I decorated our front door for the Masonite Doors #knockifyourdare contest. We had a lot of fun putting it together while the baby napped. We cut out a whole bunch of bats and used two-way tape to adhere them to the wall. Our favourite part is the small "boo" on the door.
And of course, here is our family costume. My husband and I dressed up as archeologists at Jurassic park. The hats are a bit off but you get the gist lol (my oldest keeps calling us cowboys haha).
My son and I decorated our front door for the Masonite Doors #knockifyourdare contest. We had a lot of fun putting it together while the baby napped. We cut out a whole bunch of bats and used two-way tape to adhere them to the wall. Our favourite part is the small "boo" on the door.
This year the boys decided (well my oldest decided for the little one) that they both wanted to be dinosaurs for Halloween. It worked out great because Homesense had these amazing dinosaur costumes that were affordable and warm (we need that in the north).
OMG they're so cute (sorry, shameless proud-mommy moment)
Roar! Happy Halloween!
10:32:00
1 comments
Now that it's October it's time to start thinking of Halloween costumes. I know it was only last year but I miss baby costumes. They are the cutest thing ever - am I right!? They're even cuter coupled with a well thought out family costume. I think the best way to make a parent baby costume is to find the cutest baby costume and work from there. And, if your husband is anything like mine, you have the additional hurdle to find an easy no nonsense costume that he'll actually wear (my husband isn't a huge fan of getting dressed up at least not now at this age and not without beer pong). With that in mind, I put together a list of 6 unique parent baby costume ideas that are easy for the parents and super cute! PS - two of them may be mine lol
2. Lion Tamers and Baby Lion. Baby Lion Cub Costume Found here.
3. Lobster Dinner (chefs with baby lobster). Baby Lobster Costume found here.
4. Lions, Tigers and Bears - Oh My! Baby Lion and Baby Tiger costumes found here.
5. Star Wars with Baby ewoks. Baby ewok costumes found here.
6. Amazing Race Contestants with Baby Travelocity Gnome. Baby Gnome Costume found here.
14:03:00
2
comments
As mentioned, here is a mini-Halloween home tour. Lots of purple stripes and mini-pumpkins.
Our attempt at a minion pumpkin - see not every DIY works out.
Happy Halloween!
09:05:00
No comments
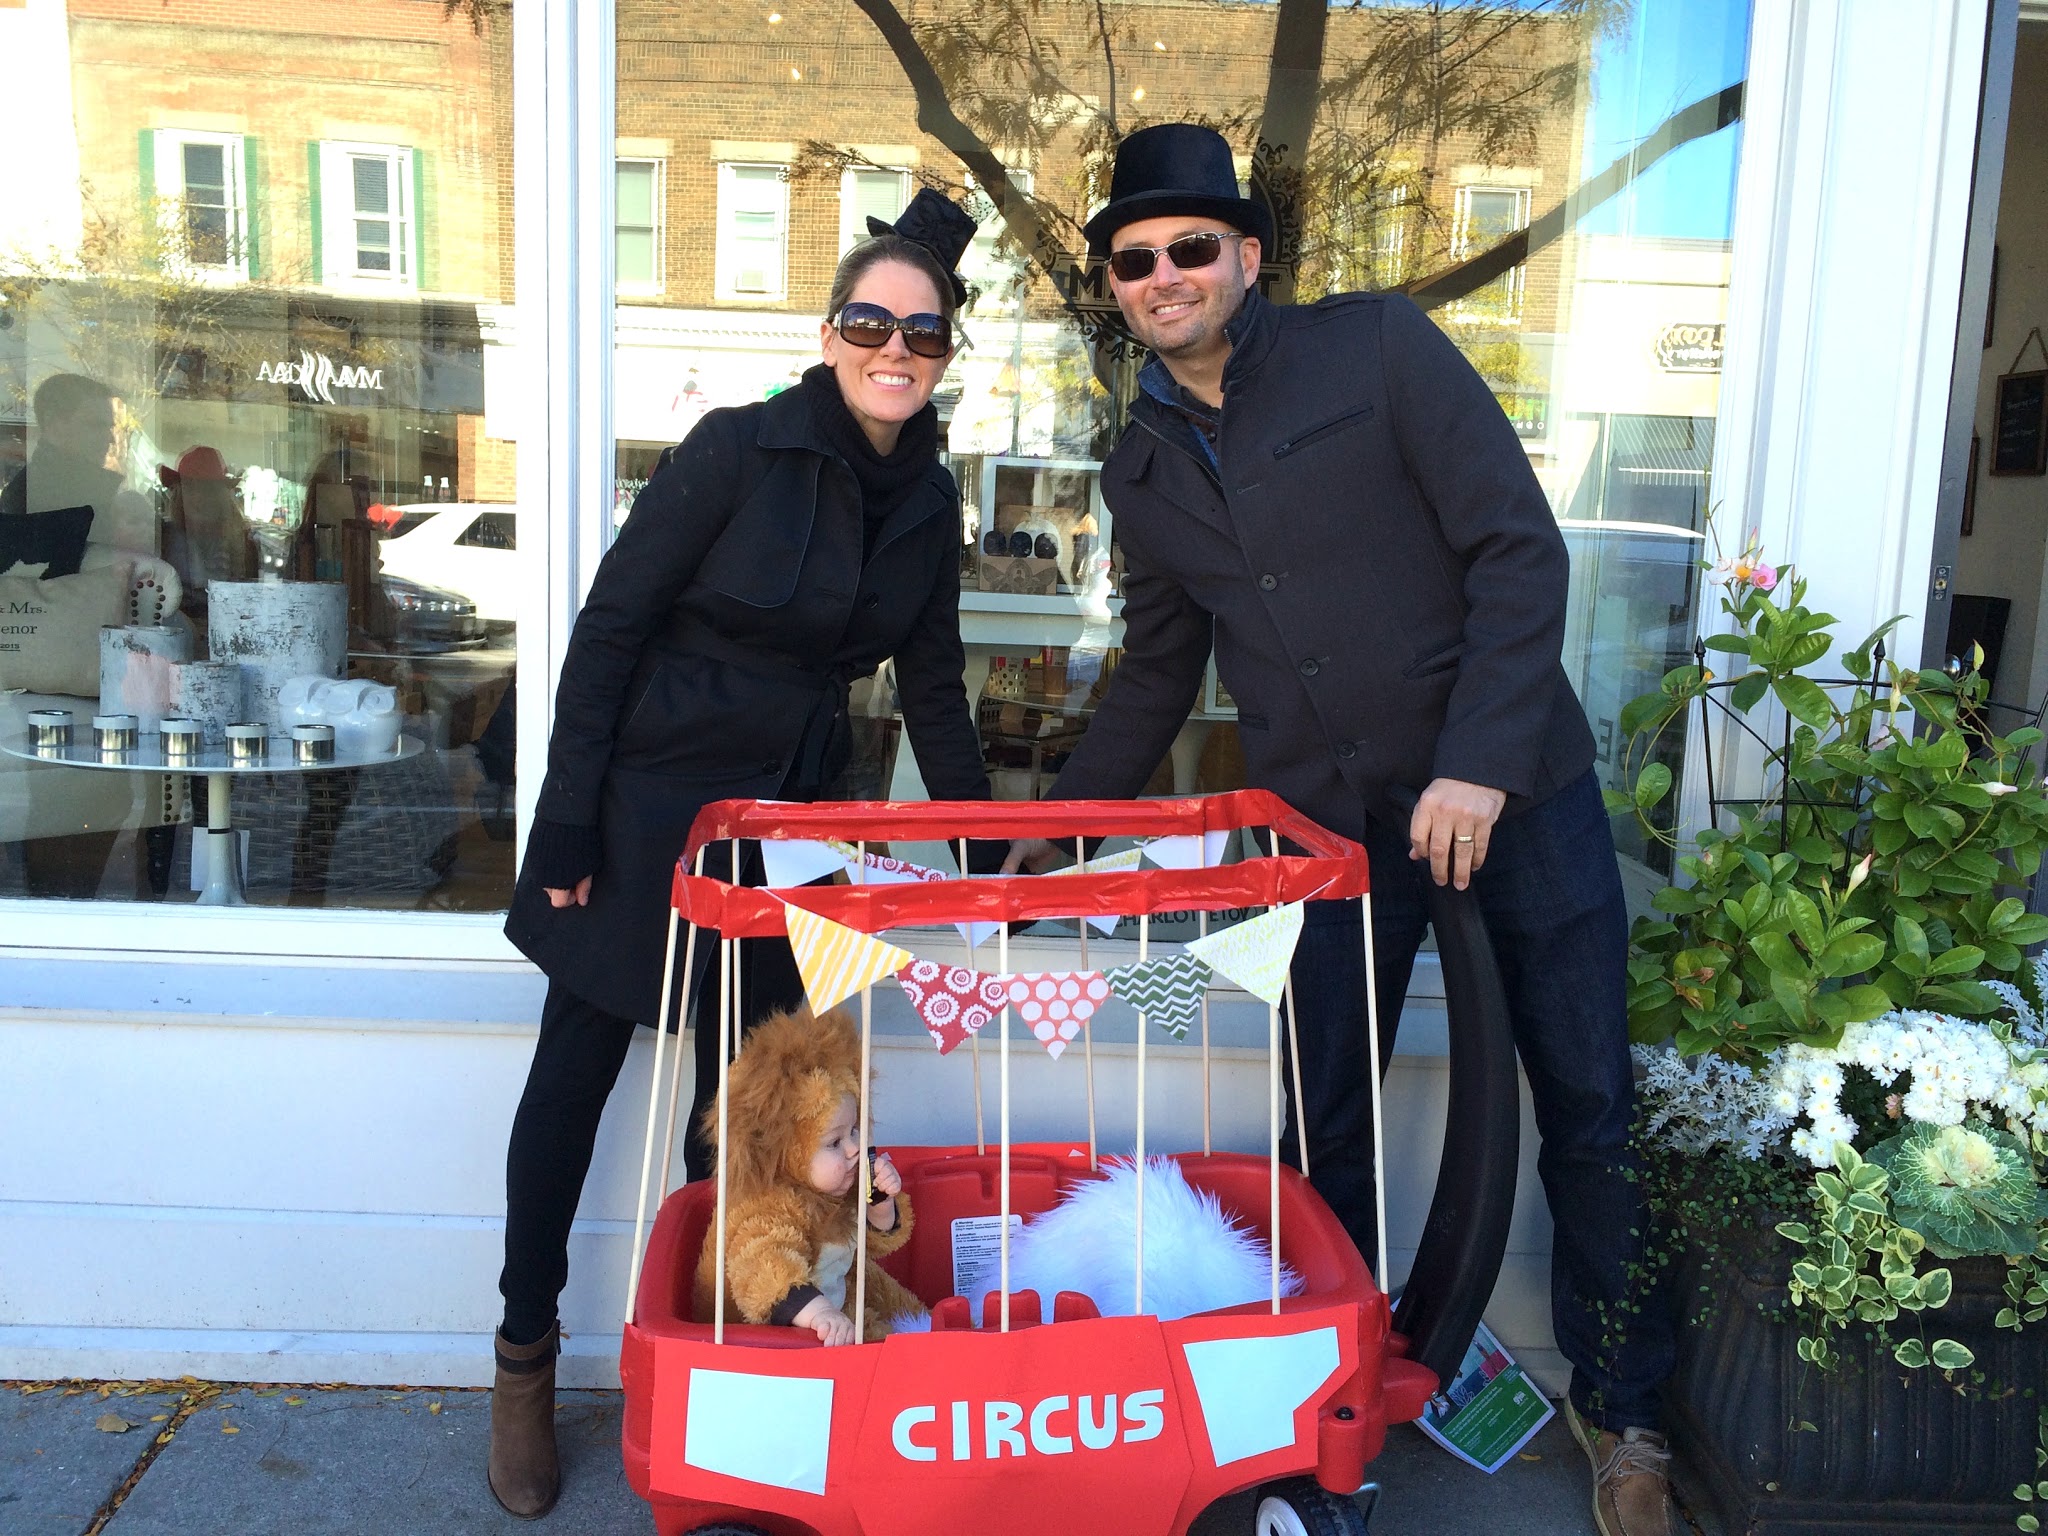
I am a huge fan of Halloween in general and more specifically family costumes. For my youngests first Halloween we decided to dress him up like a little circus lion and my husband and I dressed up as lion tamers (which seems fitting now that we have two boys). I purchased the baby lion cub costume online (links to other sizing below) and I made this cool circus wagon to take the costume to the next level ;) You can find the DIY instructions below.
Baby Circus Lion Costume (6 - 12 months)
Baby Circus Lion Costume (12 - 18 months)
First I purchased this wagon off craigslist or you can get it here.
I purchased 10 dowels from home depot (yellow size).
Then I cut the dowel with a hand saw and taped 5 together with red duct tape. 5 for each side first.
Then I taped each side to the wagon and used dowel to line the top and give it structure. I kept the back and front open for easy entry and access.
Then I added some red poster paper to the bottom and added this cute bunting banner to the top.
My hubby and I were the lion tamers (hats from the dollar store). The lion cub costume was adorable. I could not have been happier.
Our little lion cub all tuckered out.
15:56:00
No comments


