facebook twitter pinterest instagram
  • Home
  • About
  • DIY
    • Diy home decor
    • diy events
      • Birthdays
      • baby bridal shower
      • weddings
    • Diy holidays
      • Christmas
      • Halloween
      • new years
      • Thanksgiving
      • Valentine Day
    • Diy Kids
  • Home Decor
    • before And after
    • Diy home decor
    • Decor tips
    • High-low
    • home tour
    • Trends
    • One room challenge
  • By Rooms
    • Bathroom
    • Dining room
    • outdoor
    • Kids room
    • kitchen
    • laundry
    • living room
    • Office
    • Bedroom
  • Life
    • Entertaining
    • Family
    • Fashion
    • recipe
    • travel
    • Gift Guide
    • Spotlight
  • Shop
    • weekly faves
    • Reviews
    • Free printable
  • Design Studio

Harlow & Thistle

Amidst all all my One Room Challenge projects, I received a fun (and fast) delivery from Bouclair. My Chrome Tripod Floor Lamp arrived! It was even cuter in person than I pictured online.

I originally purchased this lamp for my office but since my office is currently under renovations my new lamp baby has been hopping around the house. Enter new problem...It looks good everywhere! It can literally work in any room in my home. So, now I need to decide where I like it best and do I need another one lol. Check out the different spots below and let me know where you think it looks best?

Oh yes, and here's something for you, receive 15% when you use code HARLOWANDTHISTLE15 at Bouclair.com until Oct. 31 2017

First stop, my basement, I don't often show this room because it's not 100% complete but I love the way the Bouclair tripod floor lamp adds an airy touch to the space.

Tripod-lamp-basement-decor-wall-baskets-bouclair-harlow-and-thistle

Next we'll go upstairs, here the Bouclair Tripod lamp found a great little spot beside my son's reading chair. Although I can picture toys being flung at the lamp any moment.

Tripod-lamp-boys-rooms-decor-bouclair-harlow-and-thistle

Okay, well how about the other kids room? Yep, the Bouclair Tripod lamp looks good here too - although same problem with the potential toy target practice.

Tripod-lamp-boys-rooms-decor-bouclair-harlow-and-thistle

Okay, so next the Bouclair Tripod lamp found a cozy nook in our family room (one of my favourite rooms in our home). I love the way the shade adds some much needed contrast to the log wall.

Tripod-lamp-family-room-decor-bouclair-harlow-and-thistle

How about the living room? Yep, it looks beautiful here as well. Sheesh, this is going to be tough.

Tripod-lamp-living-room-decor-bouclair-harlow-and-thistle

I think in the end my new Bouclair Tripod floor lamp will end up in my office as planned. Stay tuned to the blog for my One Room Challenge week 3 post where I finish up this amazing wall stencil.

Tripod-lamp-office-makeover-decor-bouclair-harlow-and-thistle

And don't forget to use code HARLOWANDTHISTLE15 when checking out at Bouclair.com

This post is in collaboration with Bouclair. All expressed opinions are my own.


15:13:00 1 comments
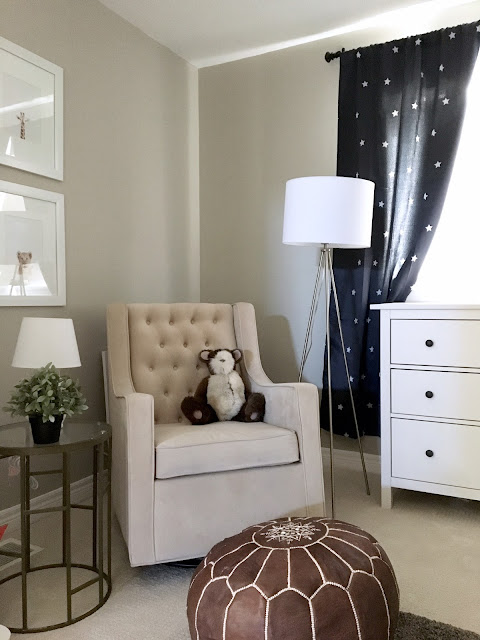
I'm sharing some cute baby room ideas for a neutral nursery because I'm feeling nostalgic as my baby boy is slowly growing into a little man. He will be moving up into a big boy room soon so I'm going to soak in this cute baby room for as long as possible.
As background, before the birth of our second child we decided to keep the gender a surprise (which I wouldn't recommend to any control freak designers out there) before he was born I must have painted the room three or four times before I settled on beige and white (ironically where it began). I was so crazy, I literally had two shopping lists ready to go, one for a boy and one for a girl. 

Neutral Nursery Ideas 1

In hindsight, I should have focused on a neutral nursery because that's where I settled in the end. Here are some cute baby room ideas for a neutral nursery:

Neutral Nursery Colors
This one may seem obvious but baby nursery colors can be tricky. The reason I repainted the nursery so many times is because the mint green looked too blue and the orange-peach looked too pink. Here are some of my fave neutral nursery colors:
Para Paints Fort Garry Grey (P2140-01)
Behr Paints N550-2-Centre Stage
Behr Paints N350-2-Sawgrass
Greek Villa by HGTV Home Sherwin Willaims 

Nursery Paint Ideas
I truly believe we can have more fun with baby nursery decor. In my son's nursery I used two different wall treatments (i) hand-painted herringbone (note, you can also buy herringbone wallpaper) and (ii) star burst decals from Walls Need Love. Other cool nursery paint ideas include a hand-painted mural, buffalo plaid, stripes, stars etc. I think the key to any of these looks is to keep the colors neutral and with minimal contrast.

Mix Patterns
In addition to this nursery you can also check out my other son's nursery where I used stripes, chevrons and chain links altogether. It really worked because they were different tints and shades of the same hue. And don't forget the floors, layer the rugs, use lots of texture. For the next nursery I design I'd like to include this great faux deer carpet that Christine Dovey used in her amazing One Room Challenge Basement makeover. Whatever it is I love the idea of mixing patterns in a baby nursery, it's a great way to add a bit of whimsy and playfulness without the use of color.

Neutral Nursery Ideas 2

Neutral Nursery Ideas 3

Neutral Nursery Ideas 4

Neutral Nursery Ideas 5

Neutral Nursery Ideas 7

Neutral Nursery Ideas 8

Neutral Nursery Shopping List:
Crib
Pouf
Chair
Nursery Baby Animal Wall Art
Rocking Giraffe
Nursery Bedding
DIY Nursery Mobile

Photography by Heather
15:57:00 No comments
Yes I know Macrame is a bit 1970's but I loved the idea of using thick wool to give it an updated look. Really guys, this DIY is so easy - all you need is a stick/log, scissors and some wool.

 I picked up this wool from Michaels and I found the birch log on one of our family hikes. 
Yep, did I mention I'm a hiker now? that's a whole other story lol.
 First start by cutting 8 strips of wool (each about 5-6 ft long). 
Place your stick/log between two chairs or other surface.
Grab one strip of wool and fold it in half to make a loop, 
put it behind the stick/log and pull the ends through the loop.

Continue this with each strip of wool, placing them approx 1-2 inches apart.
You should end with something similar to the image below - 16 strips hanging.

Grab the first four strips of wool and proceed to make a Macrame square knot. 
Continue across until all strips have been used. 
Continue to the next row leaving two strips out at the start to create the pattern.


Once complete cut the ends even (or leave them uneven if you'd like - anything goes).


I ended up hanging this wall art in my sons baby room and I really like it.
15:16:00 No comments
In this DIY I created a piece of wall art for my son's nursery that serves both as a decoration and an education. It's another dollar store craft. Here is what you'll need:
First arrange the letters as you would like them to appear.
Next, add the glue.
Next it's time to paint. I decided not to go with gold and went with a taupe instead.
That's it. Just hang and admire. 
Be sure to follow me on Instagram to get the inside scoop on upcoming DIY projects.


16:34:00 No comments
I wanted to share the gallery wall in my sons room - I incorporated his video monitor as one of the pieces of art because I was unable to hide it any where else.
As a thank you for stopping by my blog I've provided links to two pdf prints seen in the image below - "Be Brave Little Bear" and "Notre Petite Homme" (links below images). Enjoy!
Click here to download the FREE "little bear" pdf
Click here to download the FREE "petite homme" pdf

Also if there is something else you would like please shop my Etsy store or send me a convo : )
22:26:00 No comments
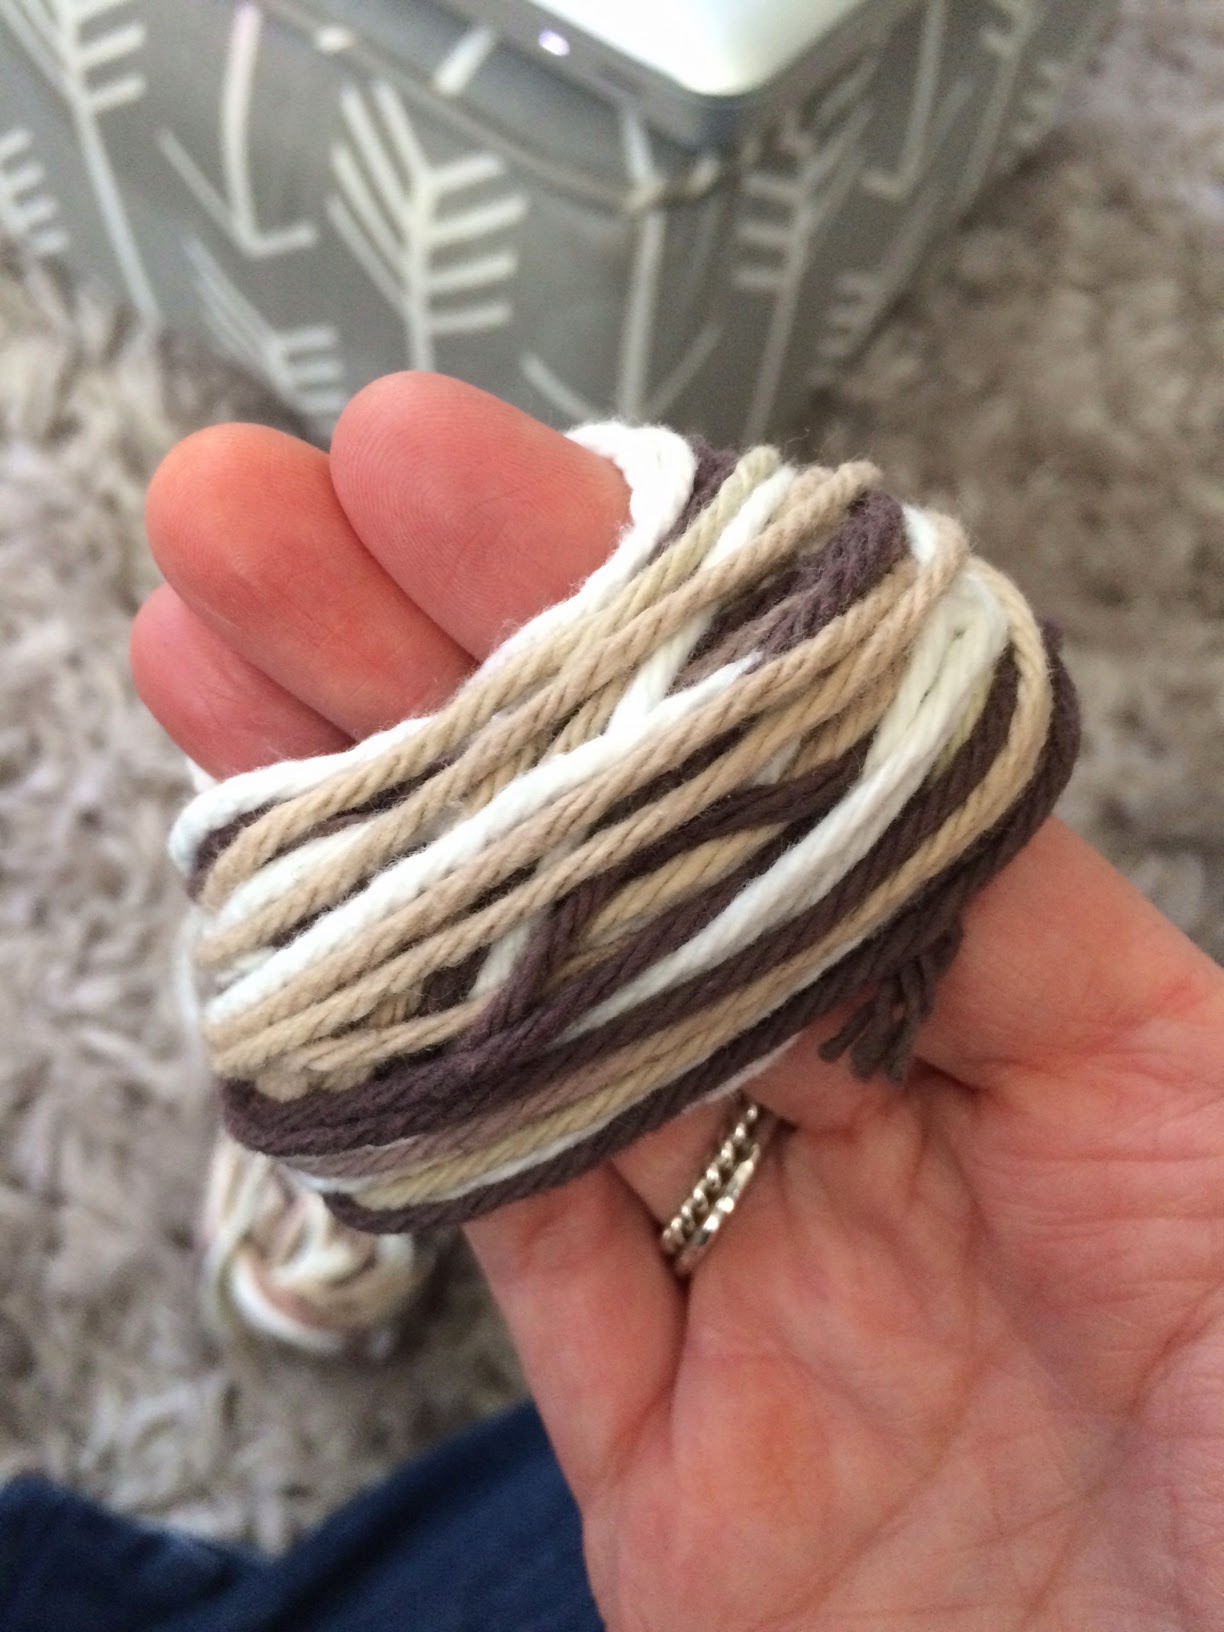
Here are the DIY instructions for the pom-poms found on this nursery mobile.

DIY-pom-pom-nursery-mobile

Shop this nursery:

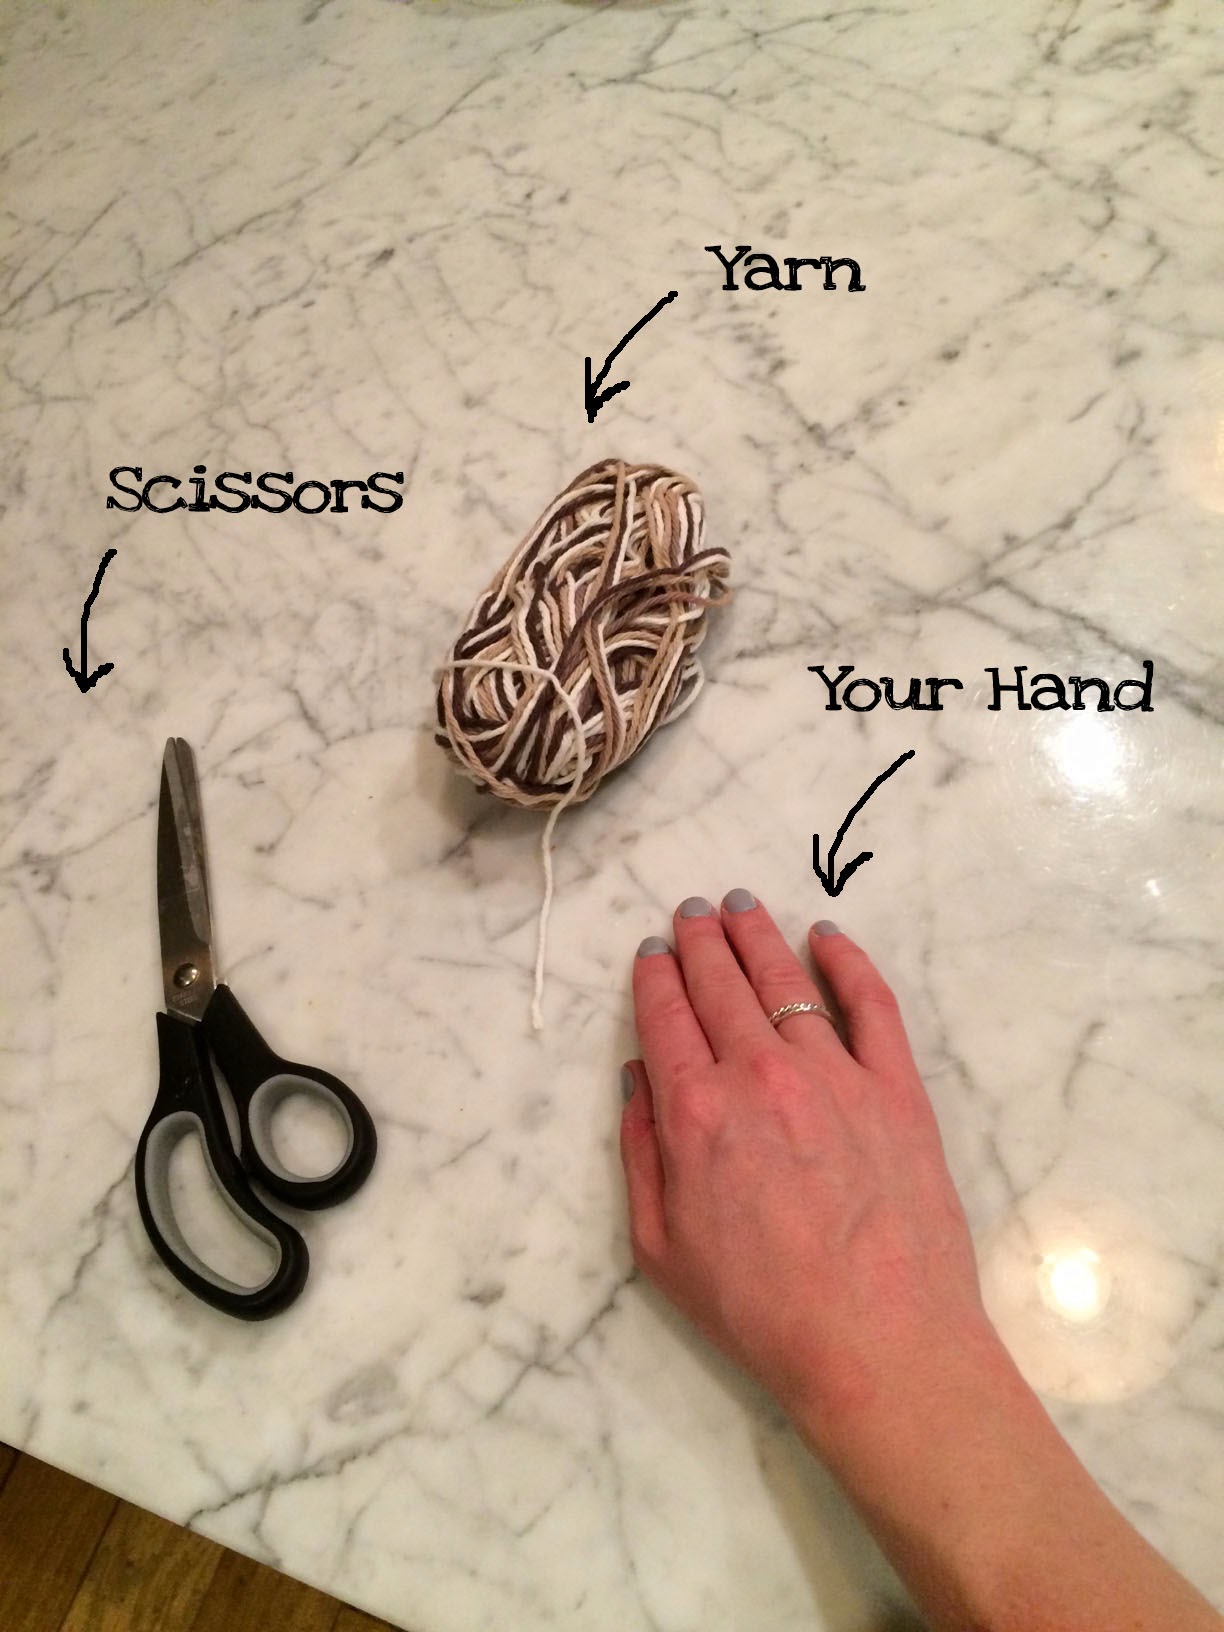
Here are the things you will need for the DIY pompom: 

DIY pompom

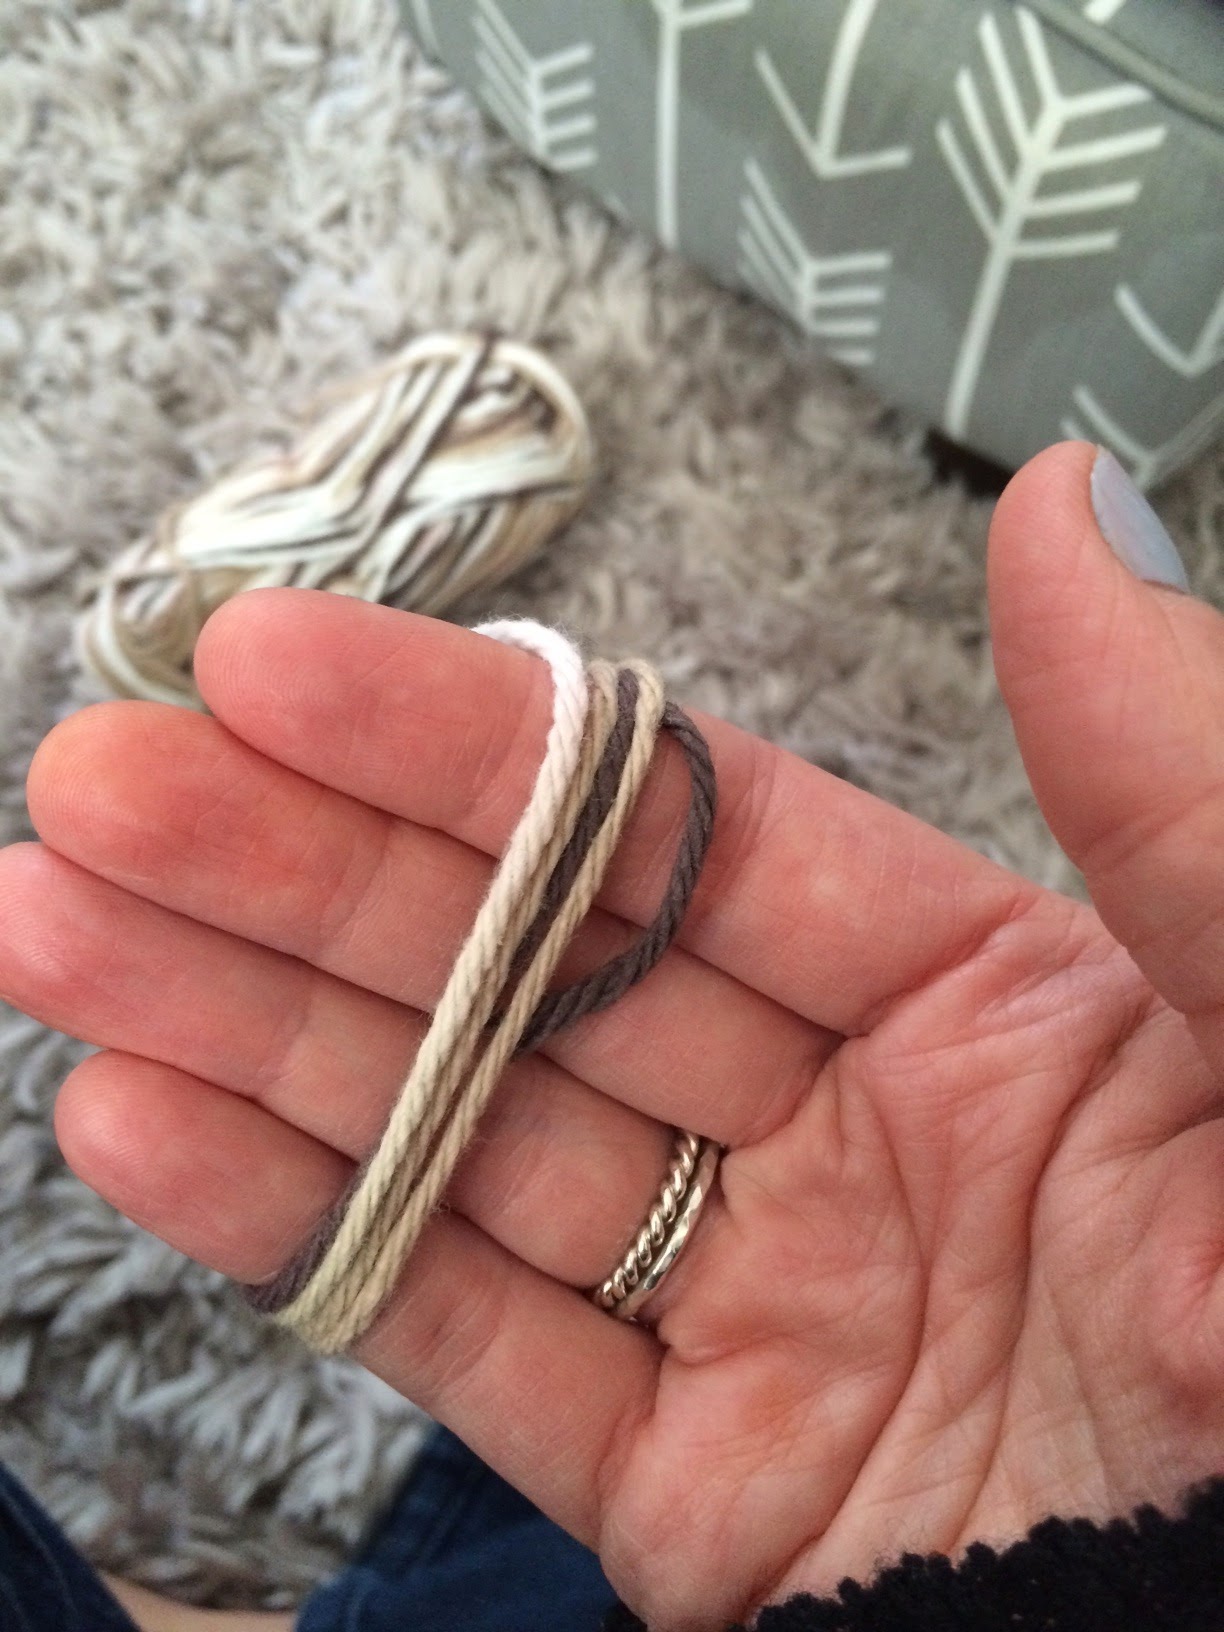
First, start by holding the end of the yarn between your fingers. 

DIY pom pom

Wrap the yarn around your fingers about 50 times.

DIY Pompom

Slip the spooled yarn off of your fingers be careful not to untangle it.
Tie the spool in the middle with a small piece of yarn.

DIY pom pom

Cut the looped yarn on either side.

DIY pom pom

 Fluff the yarn to form a pom-pom cut the excess around it and you're done : )

DIY pom pom


Thanks for stopping by. Be sure to follow me on Instagram for more fun stuff.

09:19:00 6 comments
Older Posts

Hello!


Hi! I'm Andrea, I'm a Designer, a momma and a hopeless DIY'er. My passion to achieve luxe for less led me to create Harlow & Thistle, a place to get home design inspiration and modern DIY home decorating ideas.

Email me to collaborate: harlowandthistle@gmail.com

SUBSCRIBE NEWSLETTER

Featured On

https://www.stylemepretty.com/living/2019/03/11/inside-harlow-thistles-mid-century-renovation-project/
 
https://houseandhome.com/video/blogger-harlow-thistle-budget-friendly-suburban-home/

https://www.styleathome.com/decorating/trends/article/the-hottest-design-trends-for-2017

Follow

Featured post

Modern Living Room Makeover

Popular Posts

  • DIY Gold Cake Stand
  • DIY Burlap Christmas Tree
  • DIY Holiday Ornament / Party Favour

Recent Posts

Created with by ThemeXpose