DIY Outdoor Privacy Screen
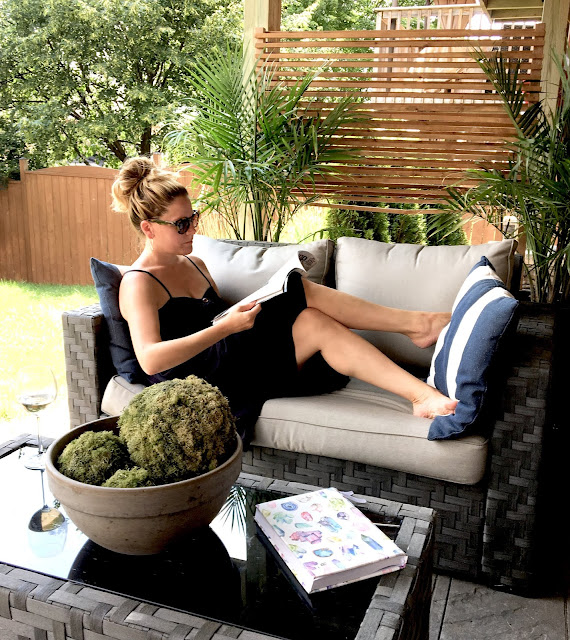
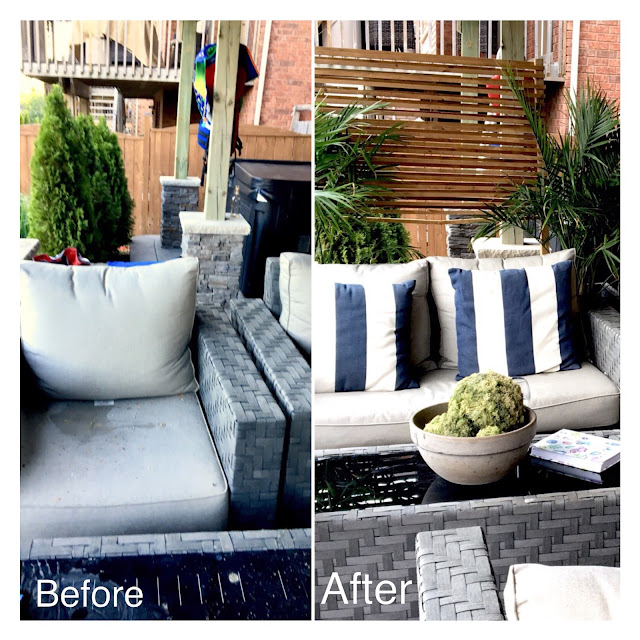
Our house has a walk-out basement which is a really nice feature but our neighbours are super close so we struggle a bit with privacy. My husband and I discussed some privacy screen solutions. We wanted to build something that hid us from the neighbours but still let the sunlight in (which was a challenge). My husband had this great idea to create a DIY outdoor privacy screen that was semi-private and freestanding. With a little help from RYOBI , this month's partner in the Modern Handmade Home series, and the RYOBI 18-Volt ONE+ AirStrike Brad Nailer from The Home Depot we were able to get this job done in under an hour for under $50.
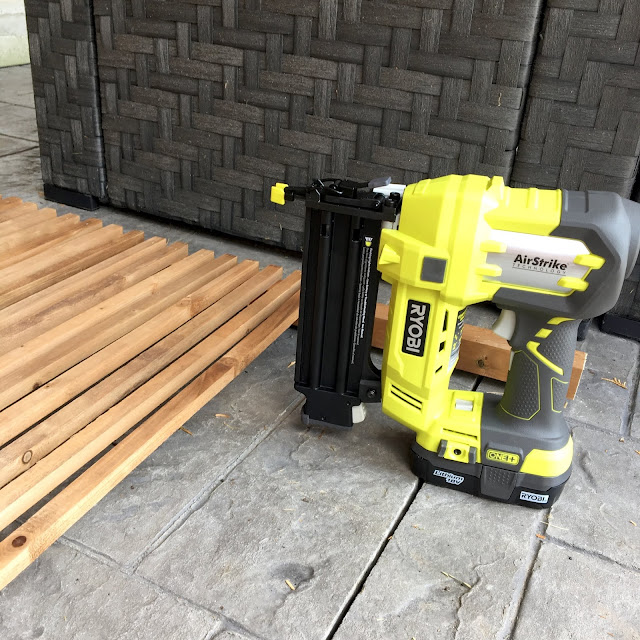
The RYOBI 18-Volt ONE+ AirStrike Brad Nailer is my new best friend - if I can ever get it away from my husband. It drives up to 1700 nails per charge without a bulky compressor or clunky cord. Honestly, I don't know why I didn't purchase tool sooner, it takes the easy jobs and makes them so much easier.
If you caught my Instastories you may have seen my youngest and I picking up all the supplies at The Home Depot. We used the following to create this DIY outdoor privacy screen; two 2x2's, approximately 40 pieces of treated wood nailing strips, 1" nails, 2 pots and plaster of paris.
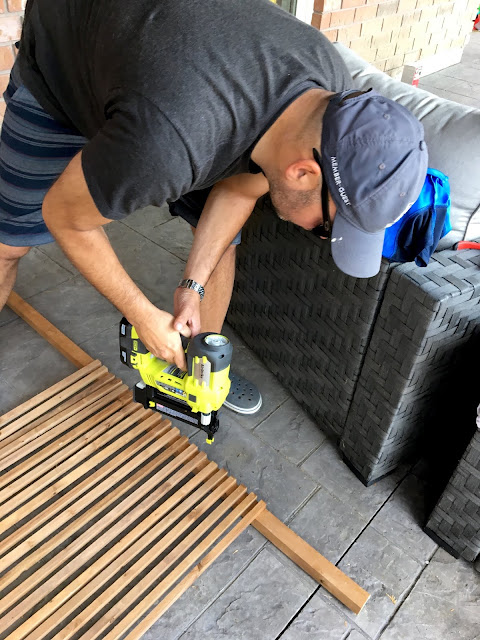
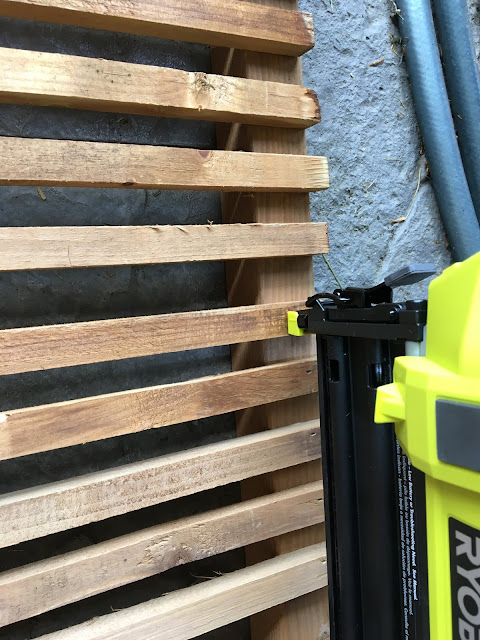
We started by laying out the wood nailing strips on the 2 x 2's. I'm not really sure what wood nailing strips are usually used for maybe to hold up tomato plants or something but they worked really well for this project and they're pressure treated to boot. My husband nailed each piece onto the 2 x 2's (note, we had to cut down the 2 x 2's by about a foot).
Then we flipped it over and repeated the same steps on the other side, filling the spaces with the wood strips this time.
Then we mixed up our plaster of paris according to the directions on the box, poured it into our two pots and stuck the 2x2 posts inside. We let it set over night before we moved it.
That's it! We love the way it turned out and we love that we can move it around our patio as needed.
Be sure to check out the other ladies participating in the Modern Handmade Home series for 5 easy weekend home projects with RYOBI. Colleen from Lemon Thistle shows us how to create a beautiful rock address sign. Thalita from The Learner Observer creates a lovely recipe book stand, Lindi from Love Create Celebrate makes a custom framed mirror and Gemma from the Sweetest Digs show us how to build an awesome raised garden bed.






0 comments