10 Tips for a DIY Cakesmash Photoshoot on your iPhone
This one is for the mom who wants to have those cute cake smash pics of their baby but doesn't want to break the bank to do it. Here are my top 10 tips on how to do a cake smash photoshoot on your iPhone:
1. Find a spot in your home with great natural light but not direct sunlight
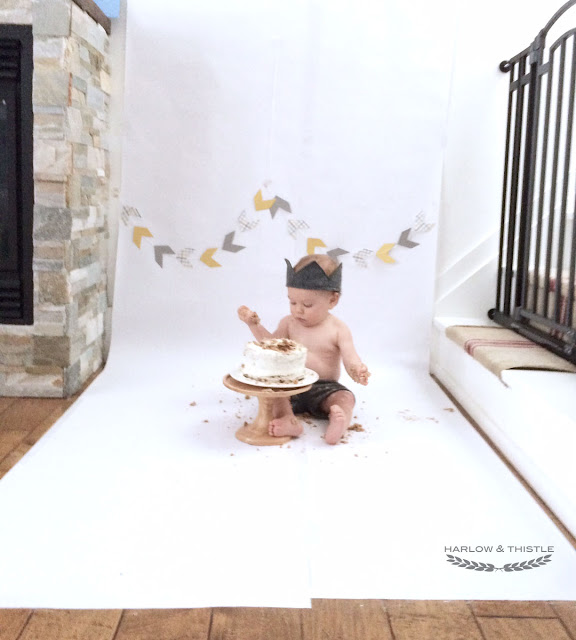
2. Tape craft paper to the wall and roll it down to the floor in one continuous strip. Add any decorative things you would like in the shot eg bunting banner, balloons etc. Note, less is more – you don’t want to distract your baby from the task at hand.

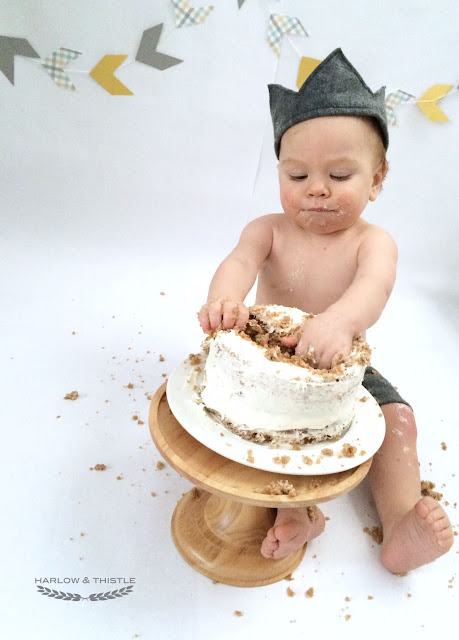
3. Pick out a cute outfit, like this felt crown. It’s always a good idea to cover up diapers with little shorts or something. Also, be sure to turn up your heat if your baby is going to be shirtless.
4. Avoid chocolate or red velvet cake – it can look distastefully after your littler monster has taken over.
5. Be sure to have a towel on hand and a bath ready to go.
6. Take a few test shots without the cake and/or without the baby (okay my cake has seen better days lol)
7. Brighten up your photos by moving the yellow square on your iPhone camera. Move it by tapping the darkest part of the screen. You can also use this trick to change the focus.
8. Bring in the cake and take lots of pics. Be sure to shoot different angles. For example, above, far away, close-up, just the cake, messy hand etc.
9. Adjust and crop your photos using the existing editing features in your iPhone. I like to adjust the brightness, exposure and cast.
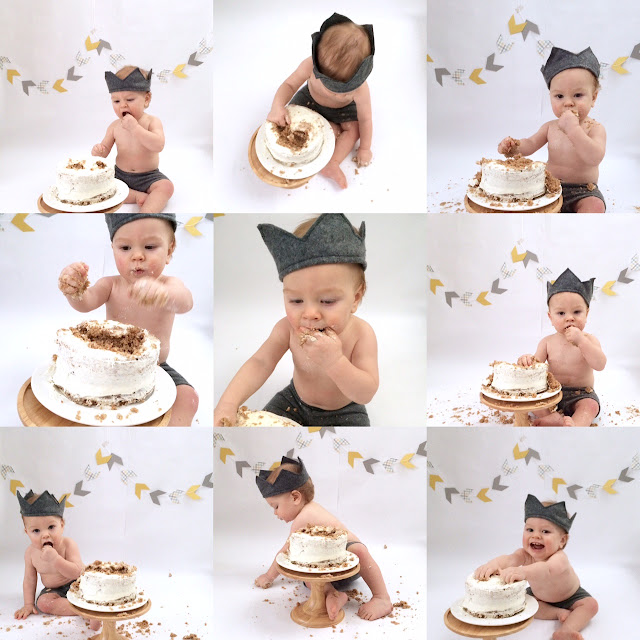
10. Use an App like “Layout” to create fun photo collages. I love the before, during and after montage (credit to my friend Christina for this idea).
One last tip, have fun and don't worry if your little one goes off script - just keep shooting :)


0 comments